|
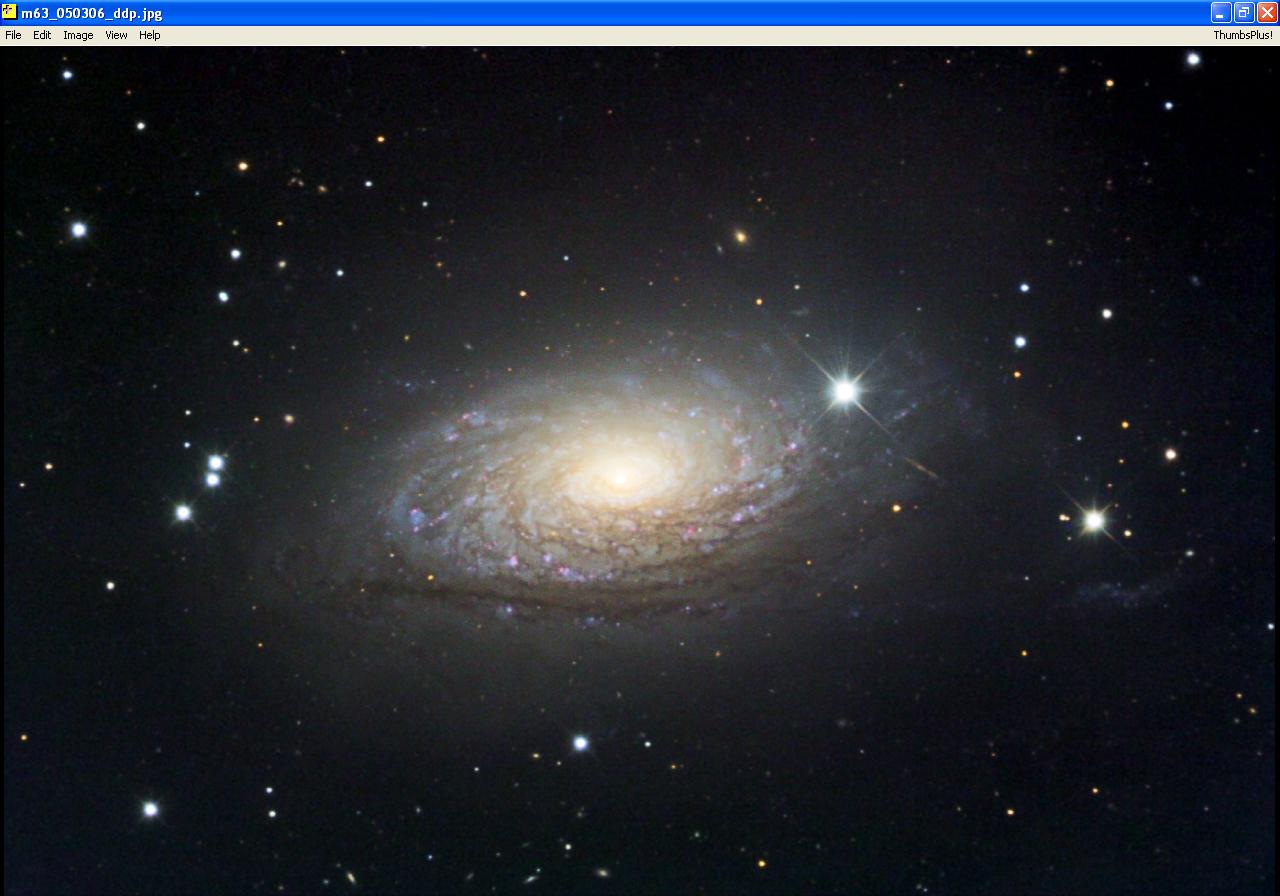
Image Processing Example - m63 (Sunflower Galaxy)
|
The following steps illustrate the processing of an image of m63, beginning with
calibrated image frames, and ending with a finished image ready for web display.
Please be aware that what follows is One way to process this image. There
are as many other legitimate (some much better) procedures as there are other
image processors.
Each of the image thumbnails in the right column can be clicked to reveal a
full-screen image. After displaying a full-screen image, use your browser's "back"
button to return to this page.
This processing example uses the following software packages:
- CCDSharp (Freeware available from SBIG)
- MaxIm DL (Software available for purchase from Diffraction Limited)
- Photoshop CS (Software available for purchase from Adobe)
Where links appear in the text below, it generally leads to another page which contains
a detailed explanation of the steps necessary to carry out the indicated activity.
|
|
Step 0: Images ready to process
|
These image files were taken with an Optical Guidance Systems 32" Ritchey-Chretien telescope
and SBIG STL-11000m camera, from very dark and transparent skies in northwestern Arizona.
The raw files have been calibrated (i.e., Dark Subtracted, Flat Fielded, Hot/Cold Pixels removed),
and aligned with each other.
These files are available to interested users who wish to follow
along with their own software, and/or make their own alterations to the process.
|
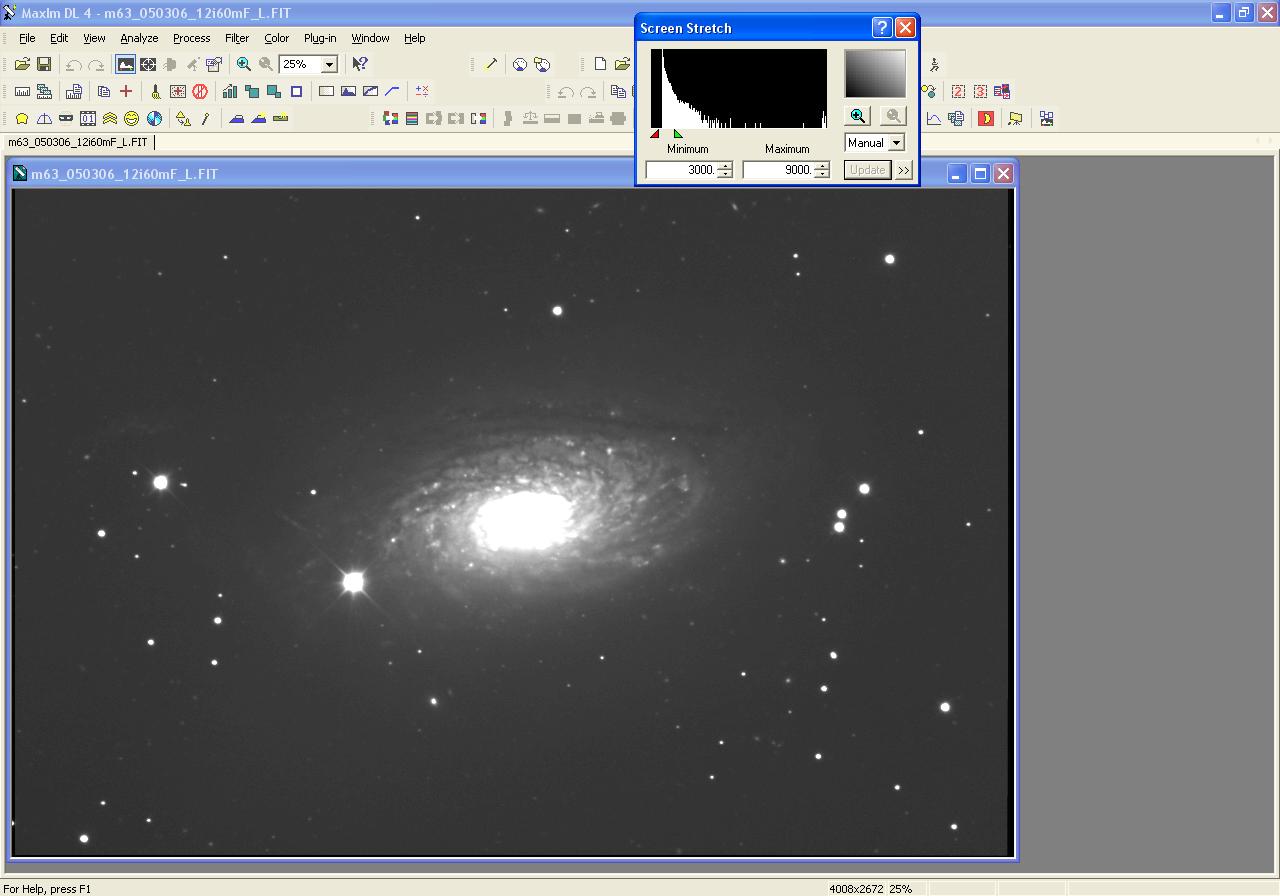
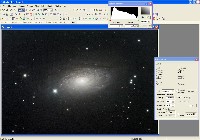
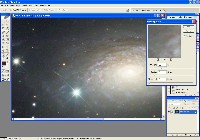
Luminance File.
This file is an added stack of 12 sub-frames, each exposed for 5 minutes, unbinned,
through an Astrodon Clear filter.
|

|
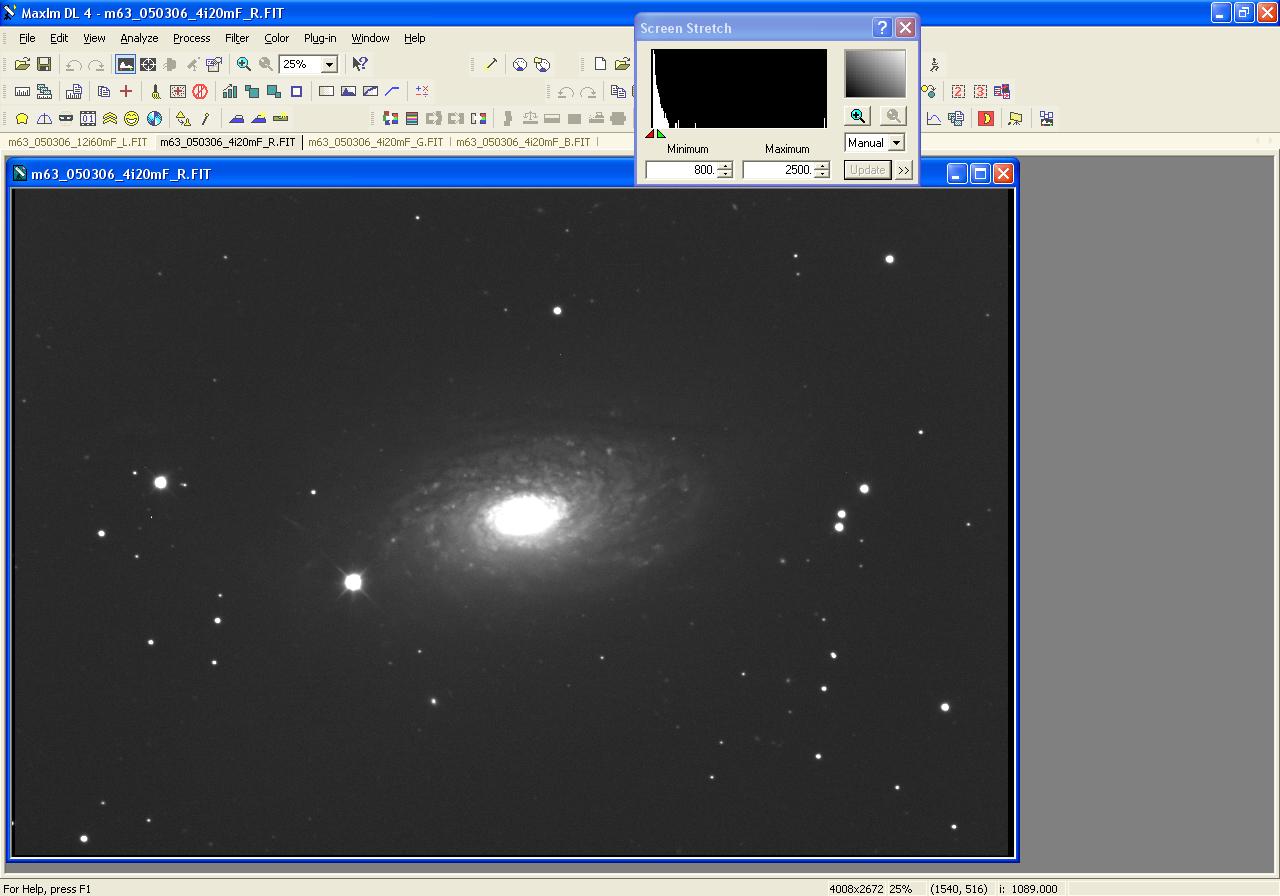
Red File.
This file is an added stack of 4 sub-frames, each exposed for 5 minutes, unbinned,
through an Astrodon Red filter.
|
|
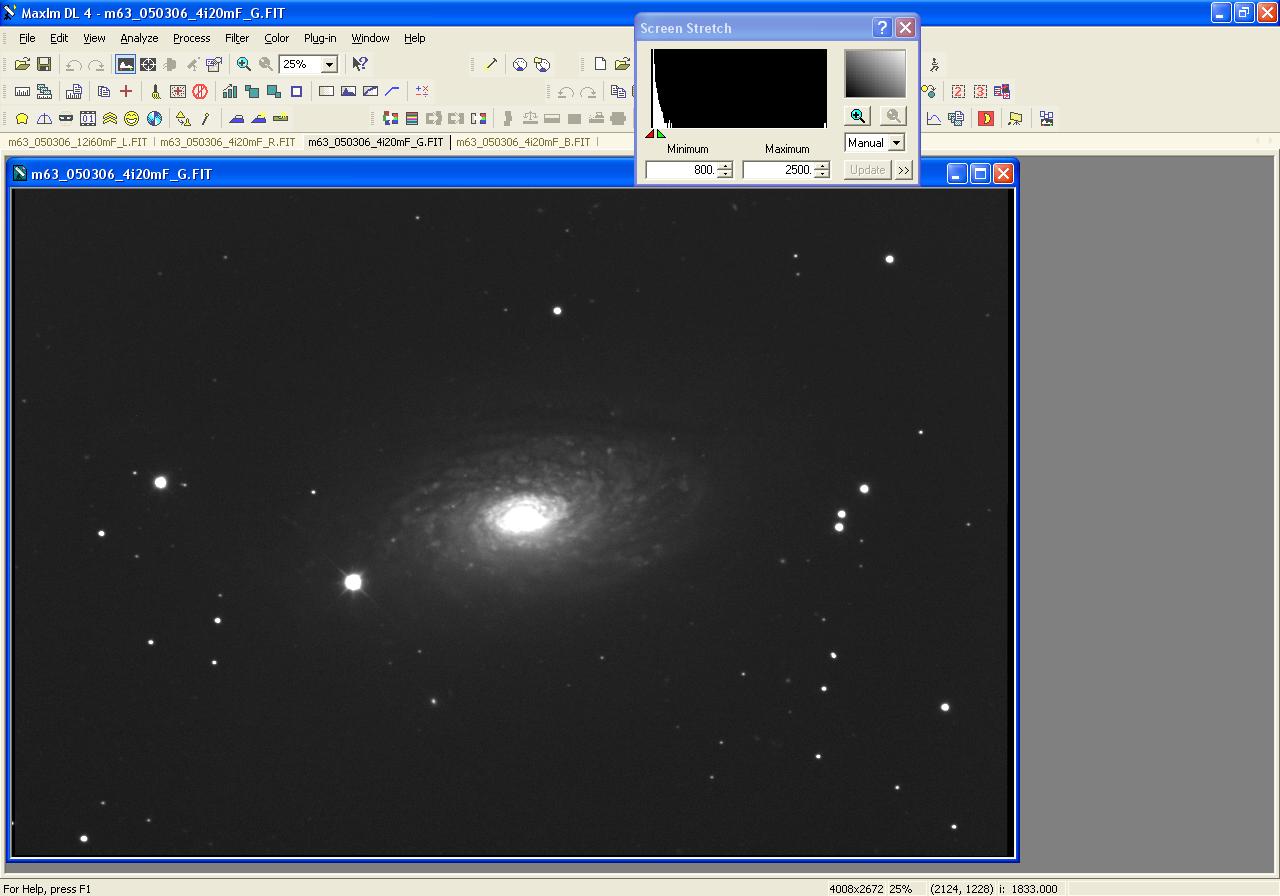
Green File.
This file is an added stack of 4 sub-frames, each exposed for 5 minutes, unbinned,
through an Astrodon Green filter.
|
|
Blue File.
This file is an added stack of 4 sub-frames, each exposed for 5 minutes, unbinned,
through an Astrodon Blue filter.
|
|
|
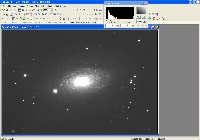
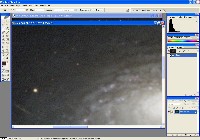
Step 1: Deconvolve Luminance File
|
The Luminance file is going to be providing the fine
detail in the finished image. Since the sampling scale with the 32" RC telescope
and STL-11000m camera yields about .32 arc-seconds per pixel, this image is what
imagers call "over-sampled."
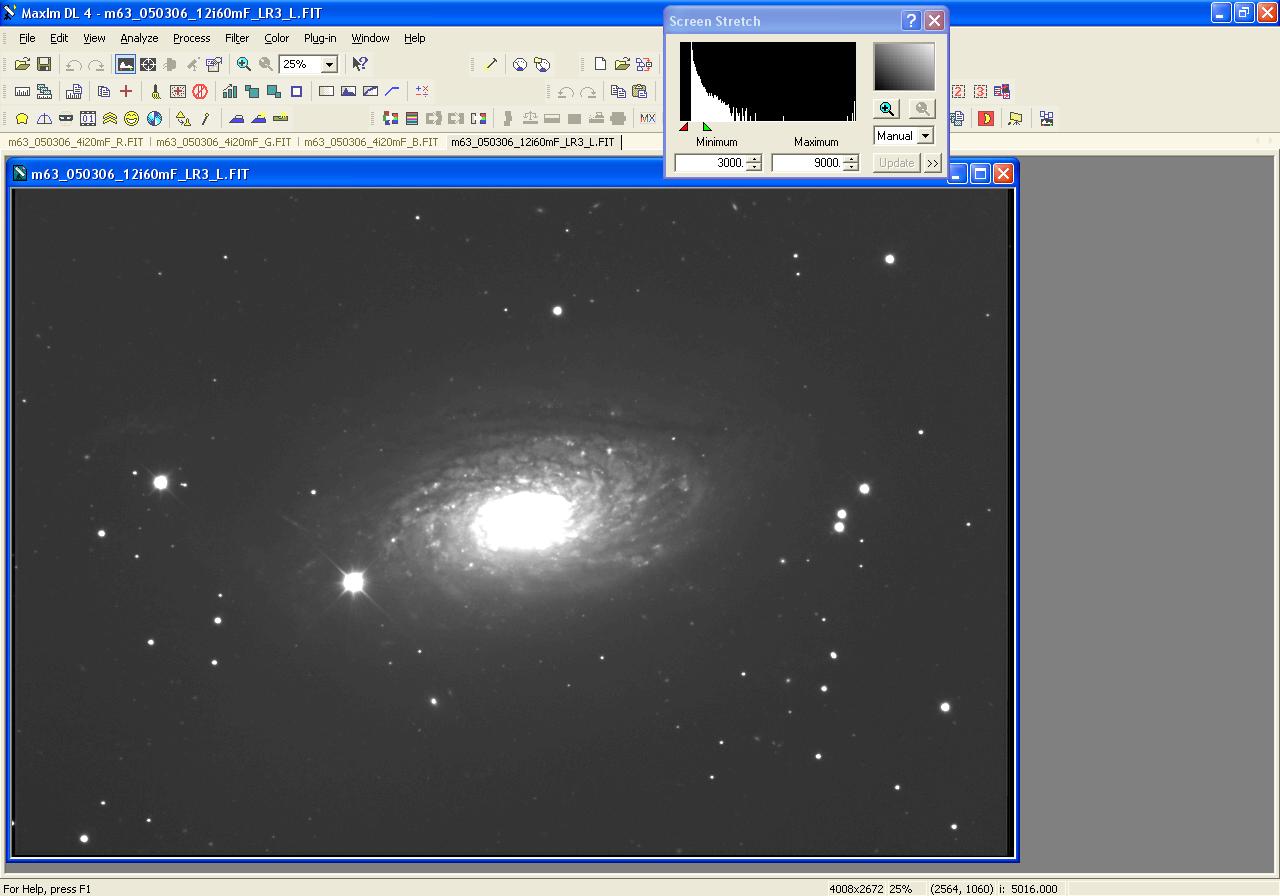
Generally, this means that it can benefit by some degree of deconvolution, which will
tighten up the star images and other details in the image.
|
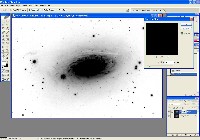
Use CCDSharp to do a 3 iteration Richardson-Lucy Deconvolution
on the Luminance Frame. Luminance file shown after deconvolution at right.
|
|
|
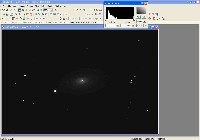
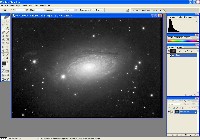
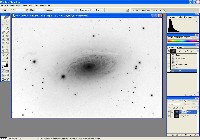
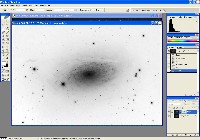
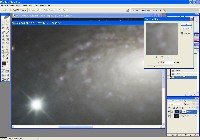
Step 2: Non-Linear Stretch of Luminance File
|
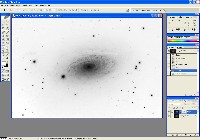
Astronomical image data generally has most of the interesting signal in the lower
part of the range of possible pixel values. While a few stars may have saturated
cores, the vast majority of the nebulosity or galaxy detail is not very bright.
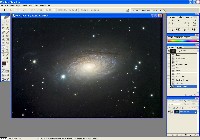
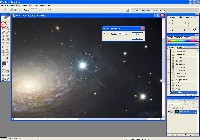
As an example, the raw Luminance file is shown on the right with a screen stretch of
zero to 65536 (64k), the full range of this camera. If the image were transferred
into Photoshop in this form, this is what it would look like.
|
|
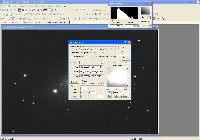
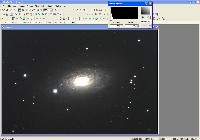
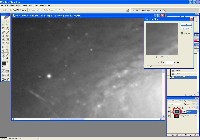
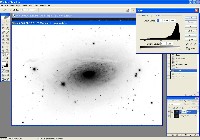
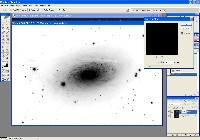
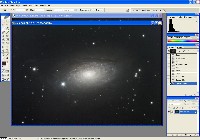
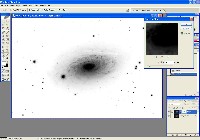
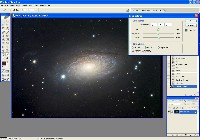
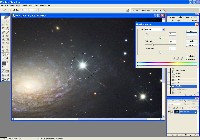
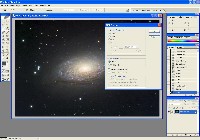
Use MaxIM DL to do a Non-Linear Stretch (DDP)
on the Luminance Frame, with DDP parameters:
- Background = 4200
- Mid-Level = 5400
Luminance file shown after non-linear stretch at right.
|

|
|
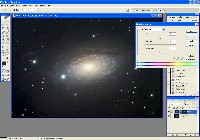
Step 3: Color Combine Red/Green/Blue frames and do Non-Linear Stretch on result
|
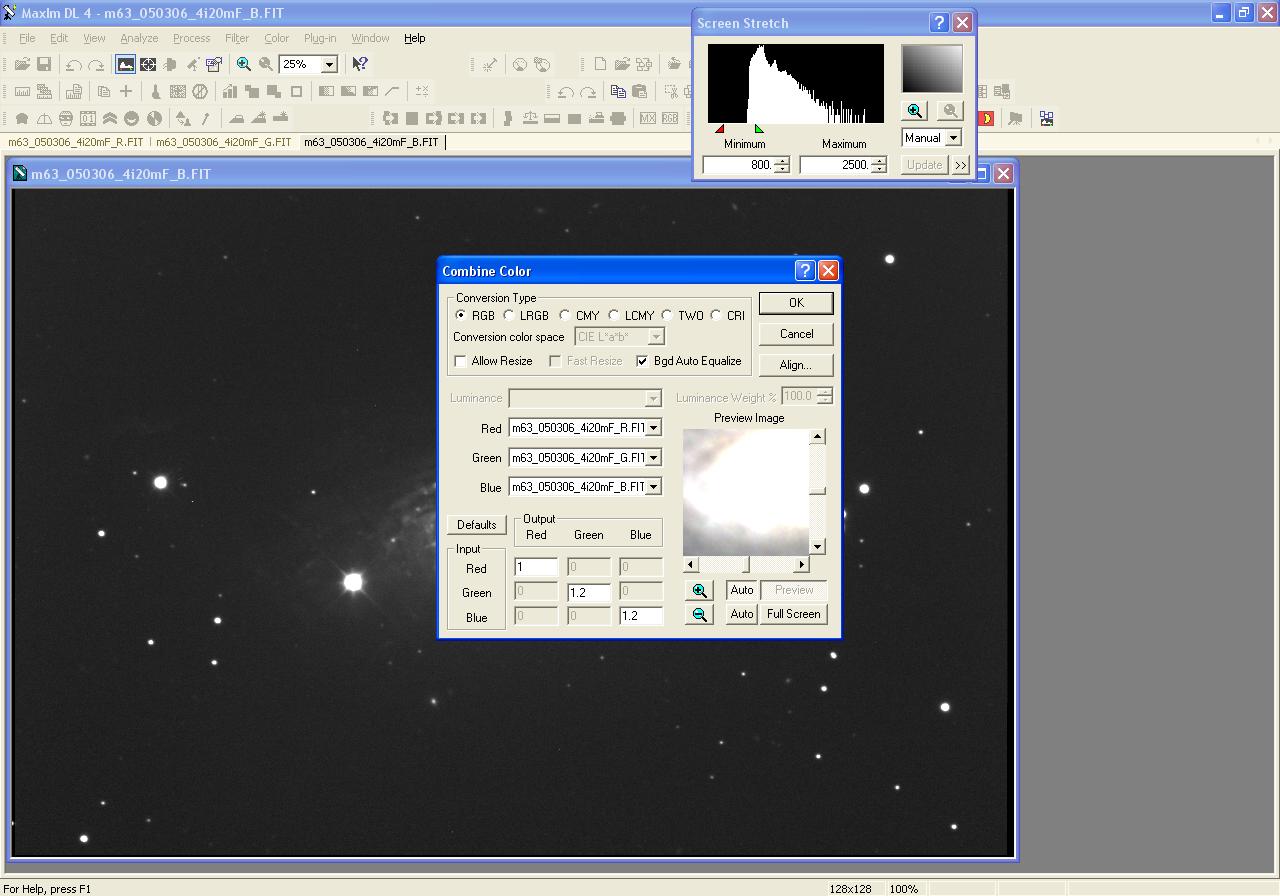
In MaxIm DL, load all three color files and select Color | Combine Color.
Set the color mixing ratio for each filter. These values can be determined experimentally,
by reference to other users of the same filter/camera combination, or by doing a G2V star
calibration.
The values I used for this data set are:
- 1.00 - Red
- 1.20 - Green
- 1.20 - Blue
Note that I have checked the Bgd Auto Equalize button.
|
|
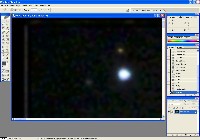
This is the result after the above Color Combine was executed.
Note the relatively low values that have to be used on the Screen Stretch in order
to be able to see the details in this image. Some imagers prefer to load the RGB
image into Photoshop in this form and bring up the color with Levels and Curves, but
I prefer to do a non-linear stretch in MaxIm DL.
|
|
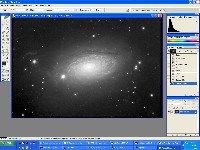
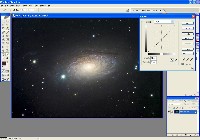
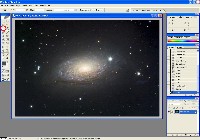
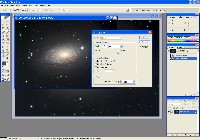
Use MaxIM DL to do a Non-Linear Stretch (DDP)
on the RGB Frame, with DDP parameters:
- Background = 1000
- Mid-Level = 1300
RGB file shown after non-linear stretch at right. Note that the color here seems a bit washed out,
but we'll deal with that in Photoshop below.
Save this file as a TIFF file in 16-bit uncompressed form.
|
|
|
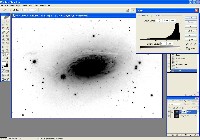
Step 4: Load Luminance into Photoshop, Reduce Background Noise using Inverted Layer Mask
|
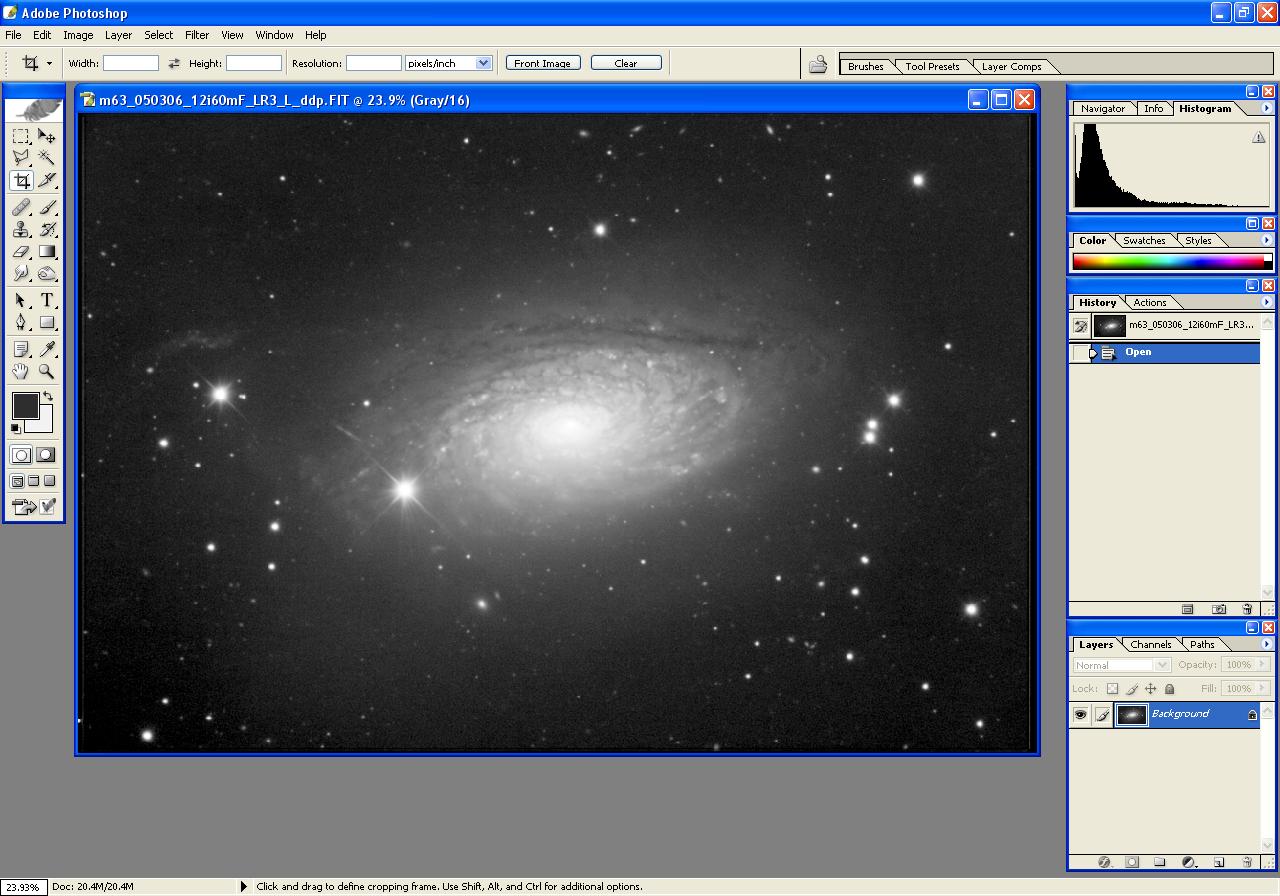
Load the non-linear stretched Luminance frame into Photoshop.
Maximize the size of the Luminance window:
- Menu selection View | Fit on Screen or keyboard-shortcut Ctrl-0
|
|
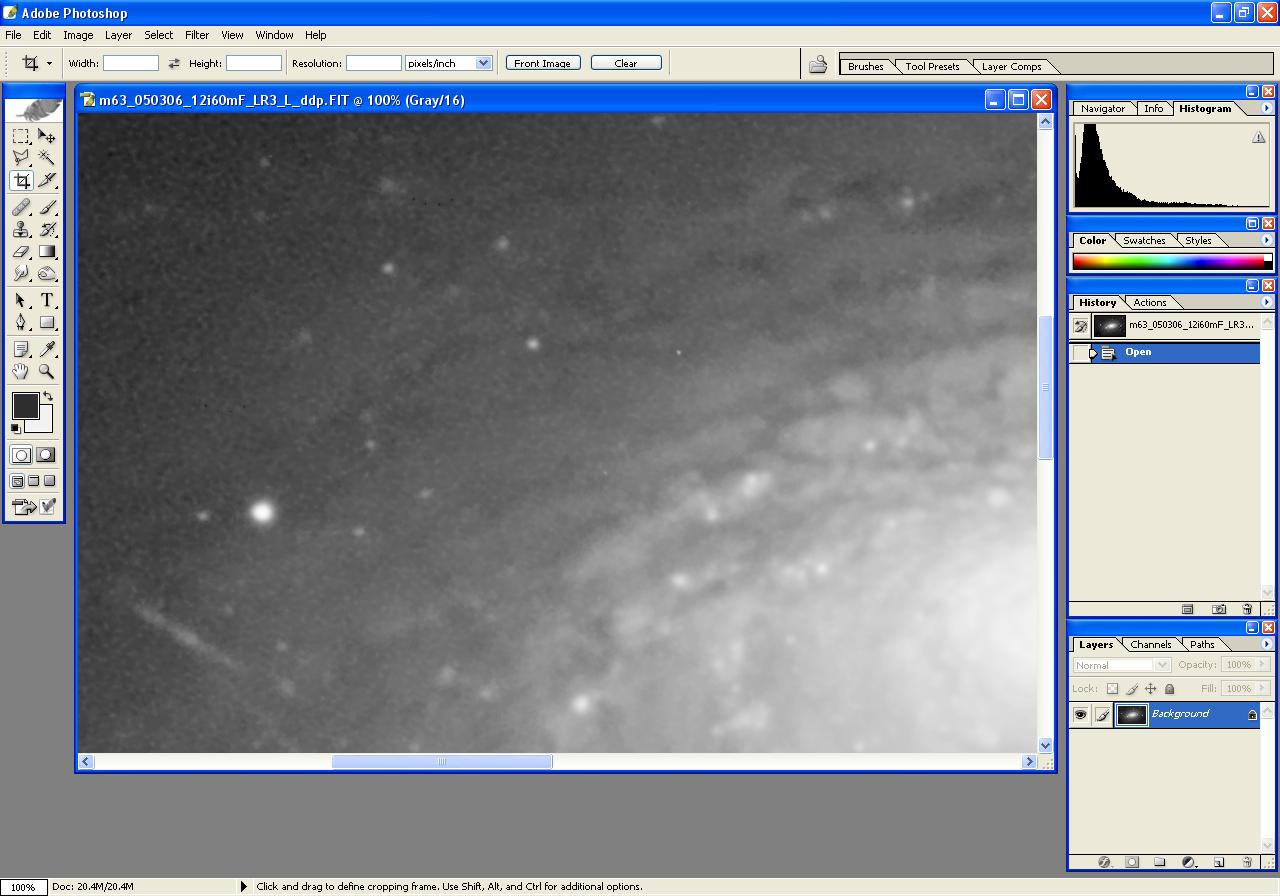
At this point, there is generally some noise in the low-signal areas of the image.
The image at right shows some minor noise (magnified to 100% viewing level).
We can blur this noise, but want to protect the stars and other details from the
effect of the blur process.
One method of doing this is to use an Inverted Layer Mask to protect the
brighter portions of the image, as described below.
|

|
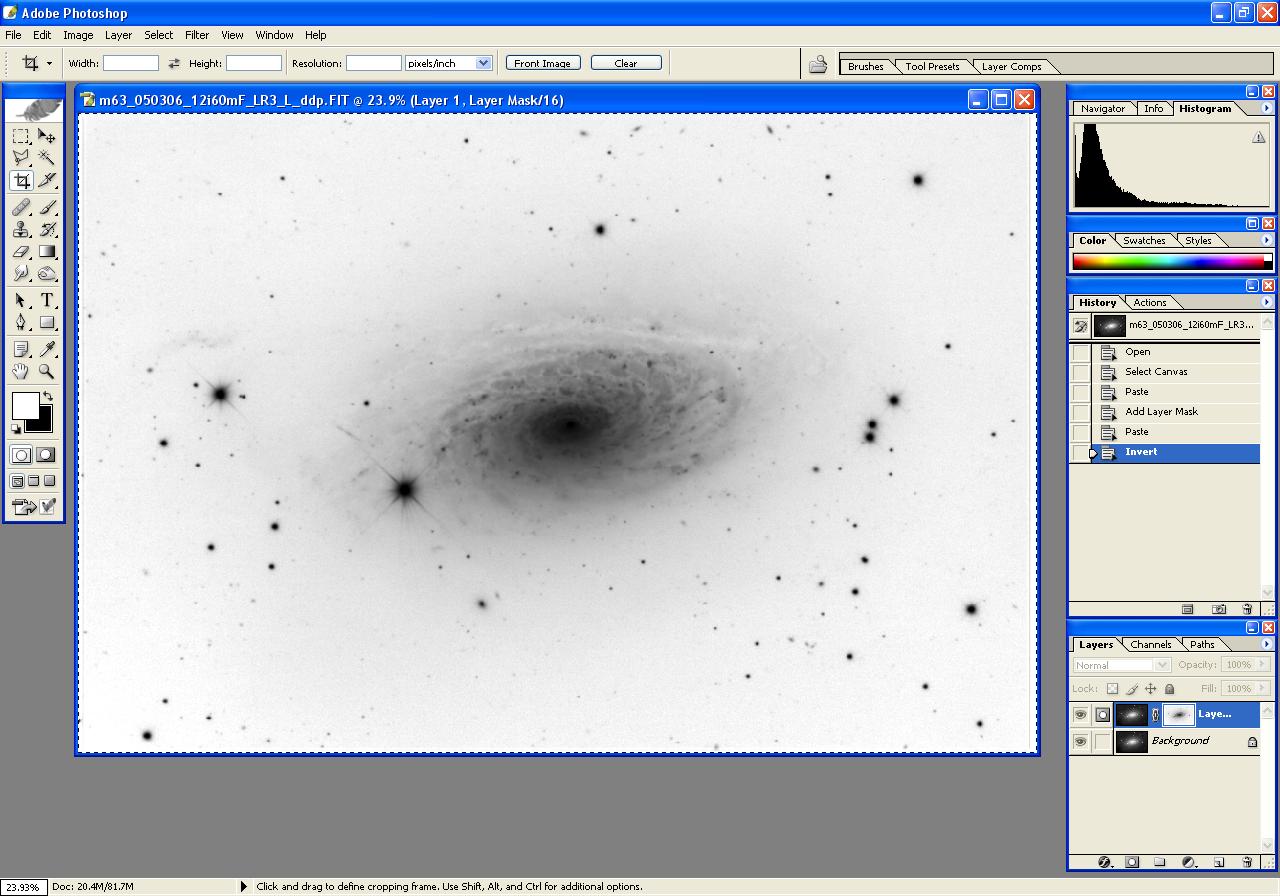
First, create an Inverted Layer Mask for the image.
|
|
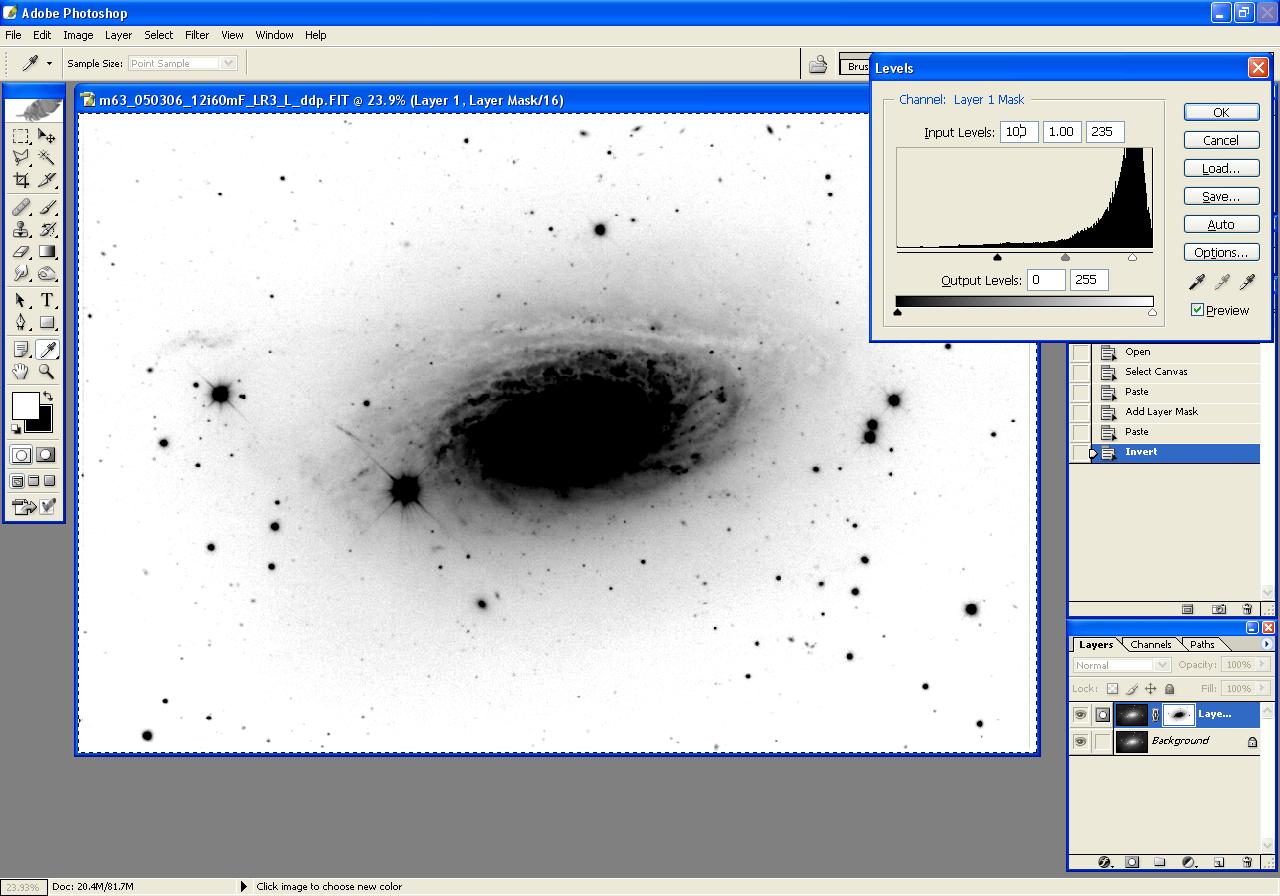
We want additional protection to the bright areas, so we'll now darken the darkest parts of the layer mask
with Levels.
Invoke the Levels dialog box:
- Menu selection Image | Adjustments | Levels or keyboard-shortcut Ctrl-L
Change the Input Levels in the Levels dialog box to 100, 1.0, 235.
The 100 darkens the darker areas, while the 235 lightens the lighter areas.
These parameters, of course, can be chosen to obtain the desired effect.
|
|
Since the Inverted Layer Mask itself is derived from our image, it contains the same
level of noise in the background areas. It's best if we slightly blur the Layer Mask
before proceeding.
Invoke the Gaussian Blur dialog box:
- Menu selection Filter | Blur | Gaussian Blur (no keyboard-shortcut)
Use a blur radius of about 1 or 2 (2 was used here).
|
|
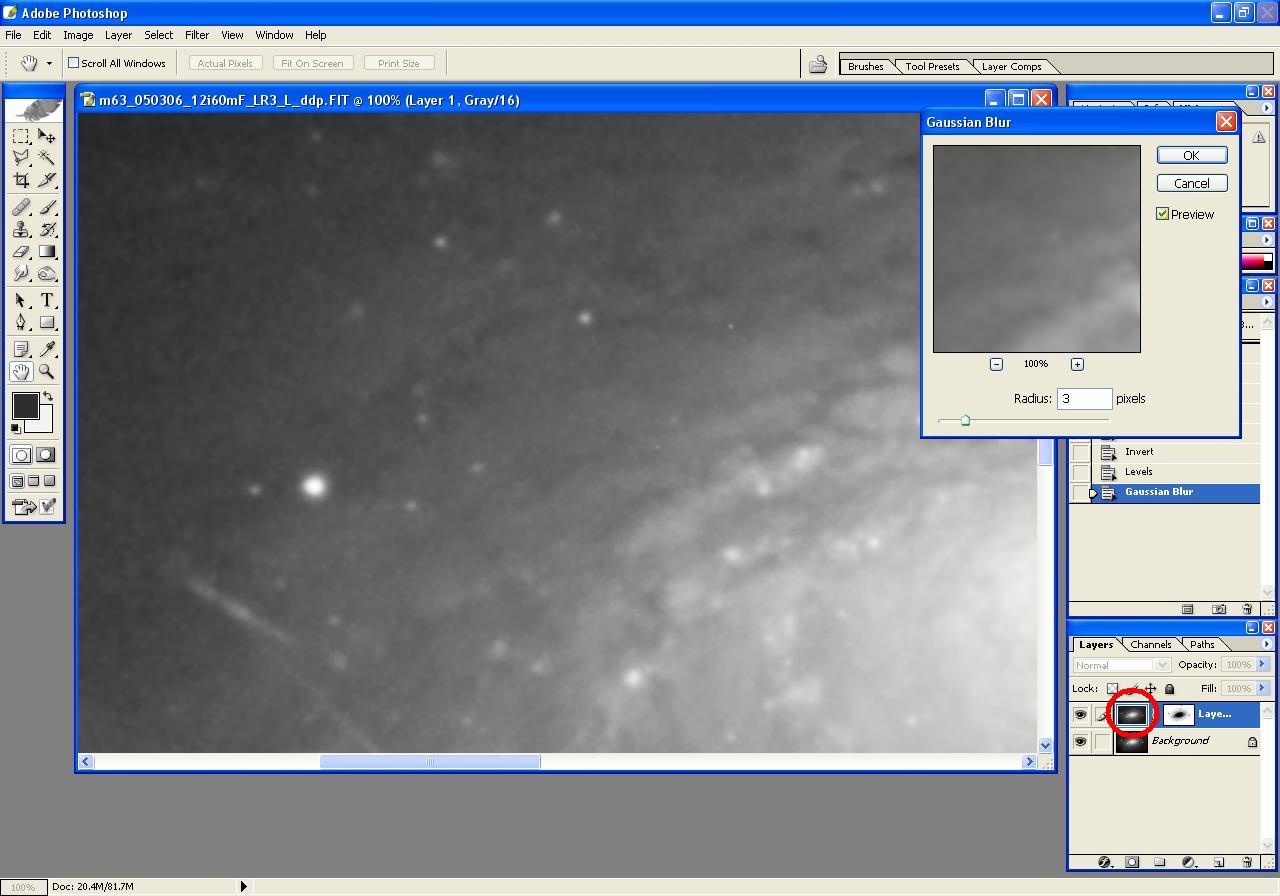
Now, make the top layer image active by clicking on its icon (circled in red at the bottom right
in the image). Magnify it enough to clearly see the noise in the background area so that you can
monitor the effect of the following blur command. (To magnify, press Ctrl-0, then press
Ctrl-+ several times.)
Invoke the Gaussian Blur dialog box:
- Menu selection Filter | Blur | Gaussian Blur (no keyboard-shortcut)
Use a blur radius of 3.
To monitor and evaluate the effect of the Blur command, while the Gaussian Blur dialog box
is still open, repeatedly click on the Preview checkbox to see the effect the blur is
having. The background noise should be substantially reduced. The stars may be softened just
a little bit, but that can be recovered with an Unsharp Mask action a little later.
|
|
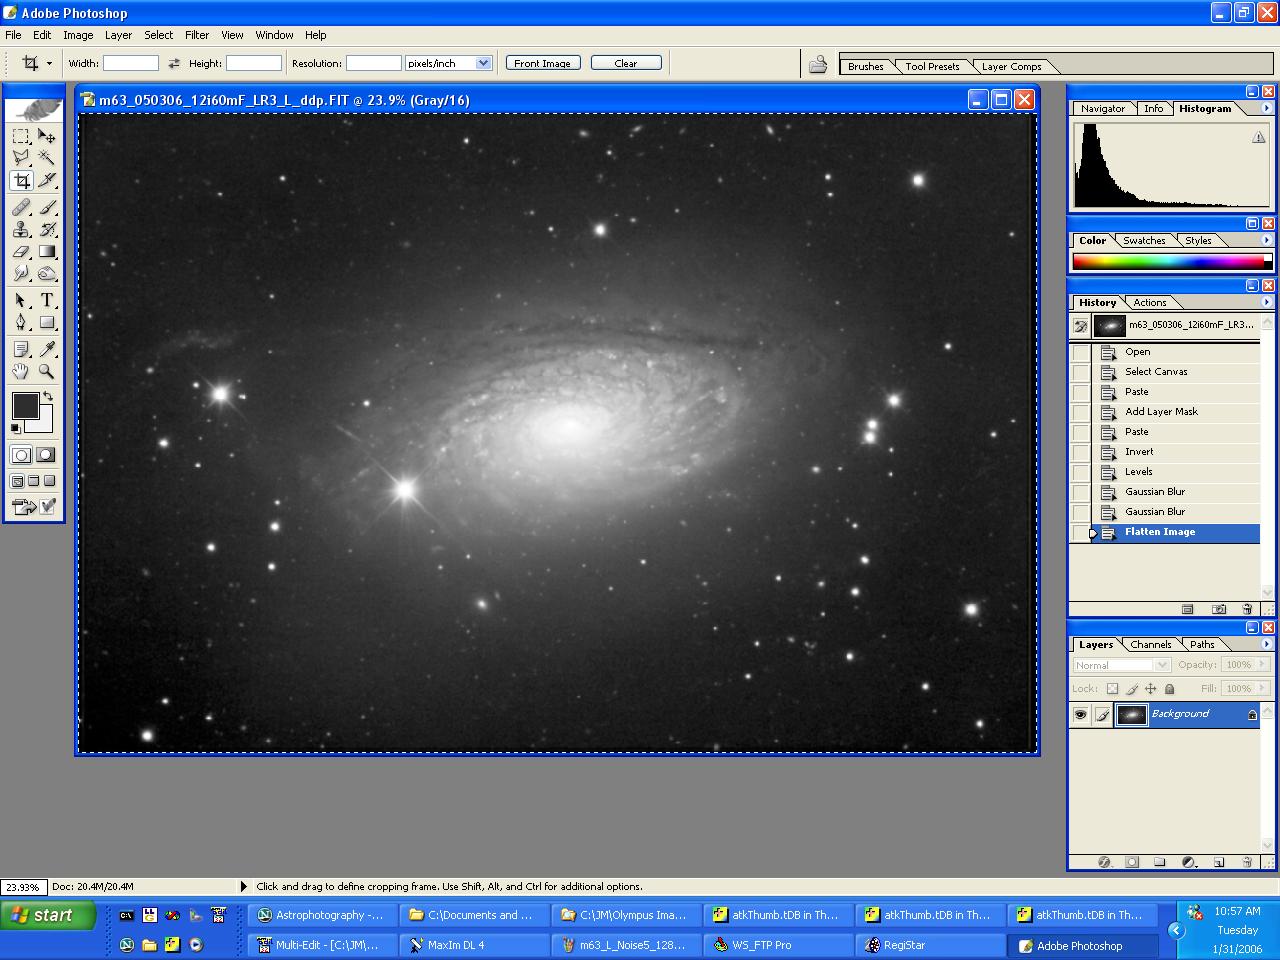
Flatten the layers to make the masked blur permanent:
- Menu selection Layer | Flatten Image (no keyboard-shortcut available)
Maximize the size of the image Window (remove prior magnification):
- Menu selection View | Fit on Screen or keyboard-shortcut Ctrl-0
|
|
|
Step 5: Load RGB Image, Reduce Color Noise using Inverted Layer Mask
|
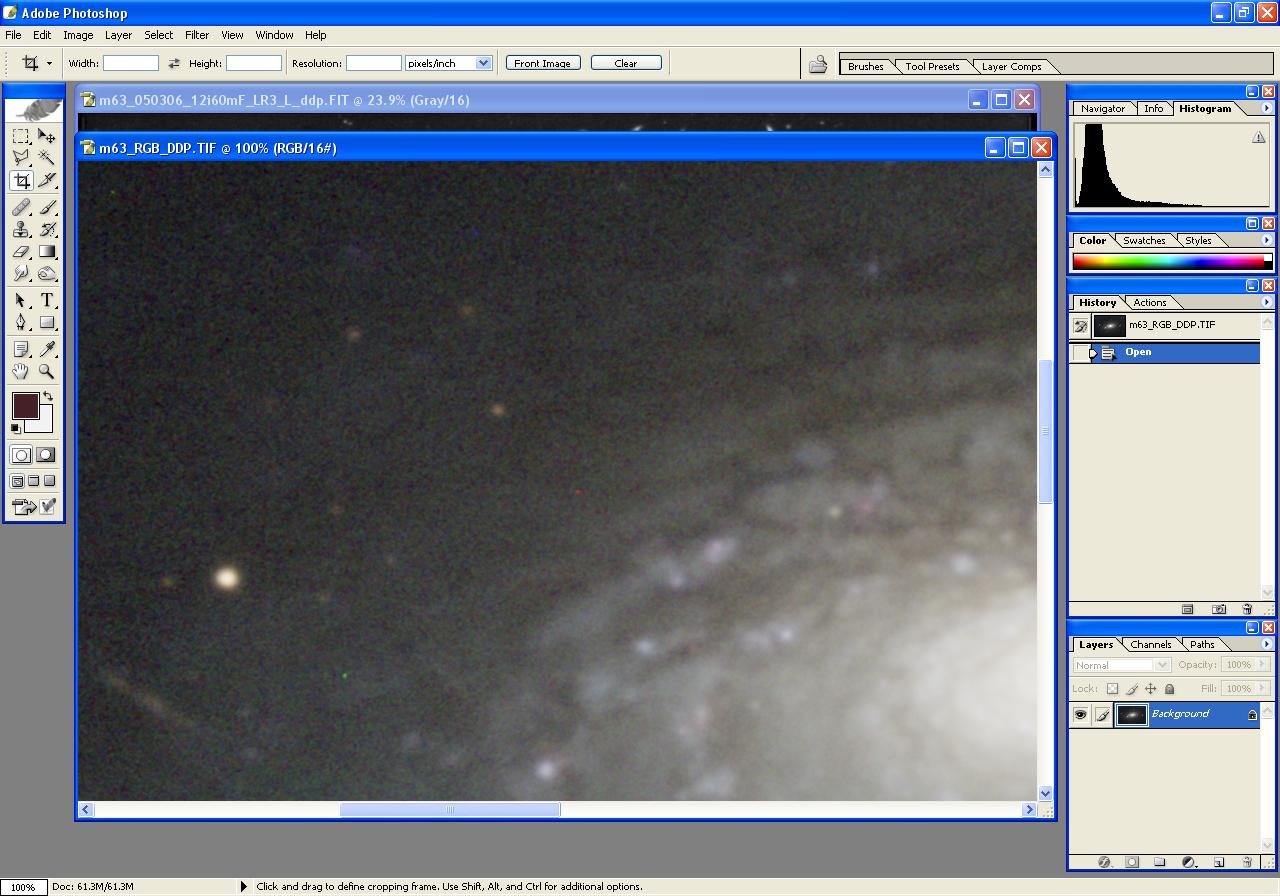
Load the non-linear stretched RGB image. Maximize the size of the RGB:
- Menu selection View | Fit on Screen or keyboard-shortcut Ctrl-0
|
|
As in the Luminance image, there is generally some noise in the low-signal areas of the image.
The image at right shows some significant noise (magnified to 100% viewing level).
We can blur this noise, but want to protect the stars and other details from the
effect of the blur process.
One method of doing this is to use an Inverted Layer Mask to protect the
brighter portions of the image, as described below.
|
|
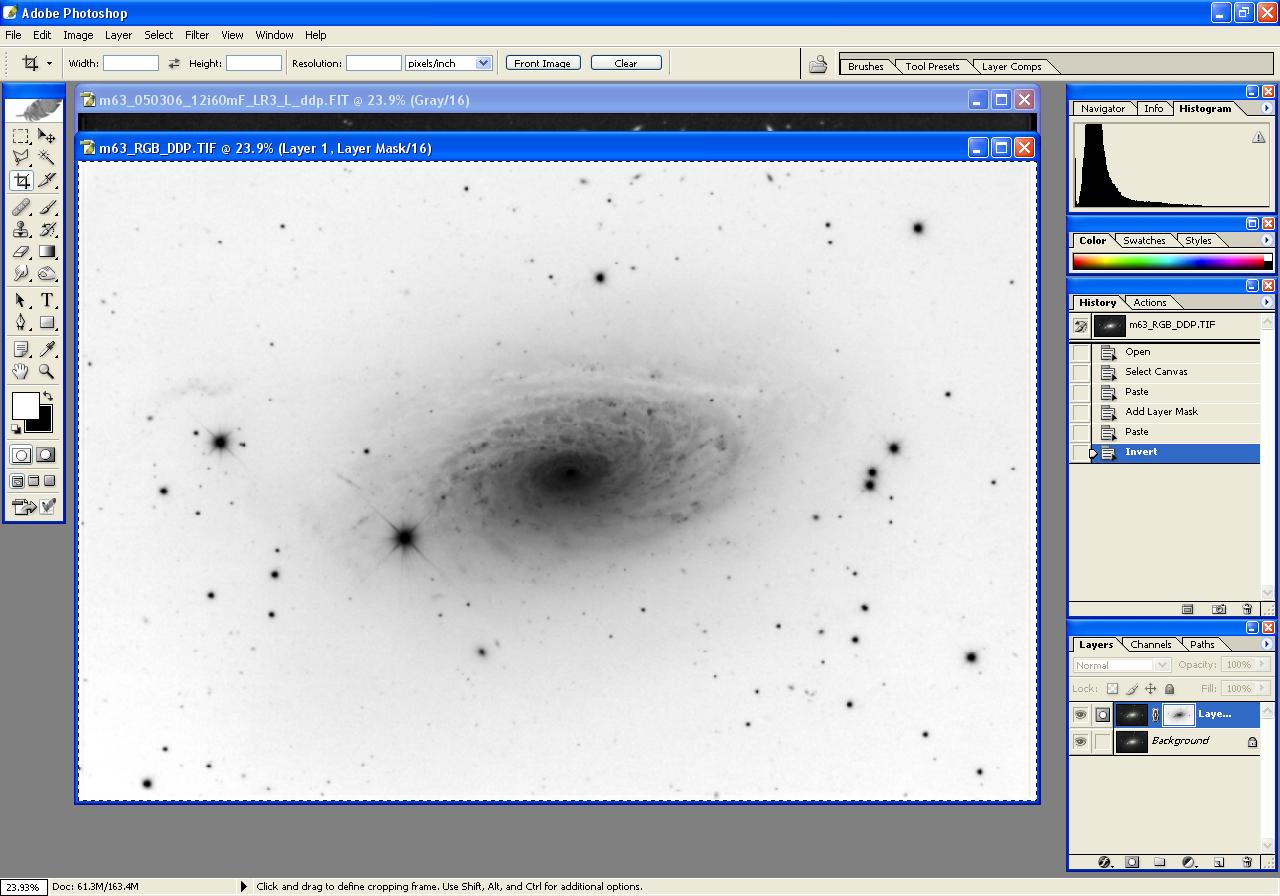
Create an Inverted Layer Mask for the image.
However, when you get to step D in that process, don't use the color image as the basis
for the layer mask. Instead, use the Luminance image. It better represents
which areas of the final image will in fact be background and which will be highlights:
Substitute the following in Step D:
- Click on the Luminance Image to make it active Copy its Contents:
- Menu selection Select | All or keyboard-shortcut Ctrl-A
- Menu selection Edit | Copy or keyboard-shortcut Ctrl-C
- Click on the RGB Image to make it active Paste the Luminance into it:
- Menu selection Edit | Paste or keyboard-shortcut Ctrl-V
|
|
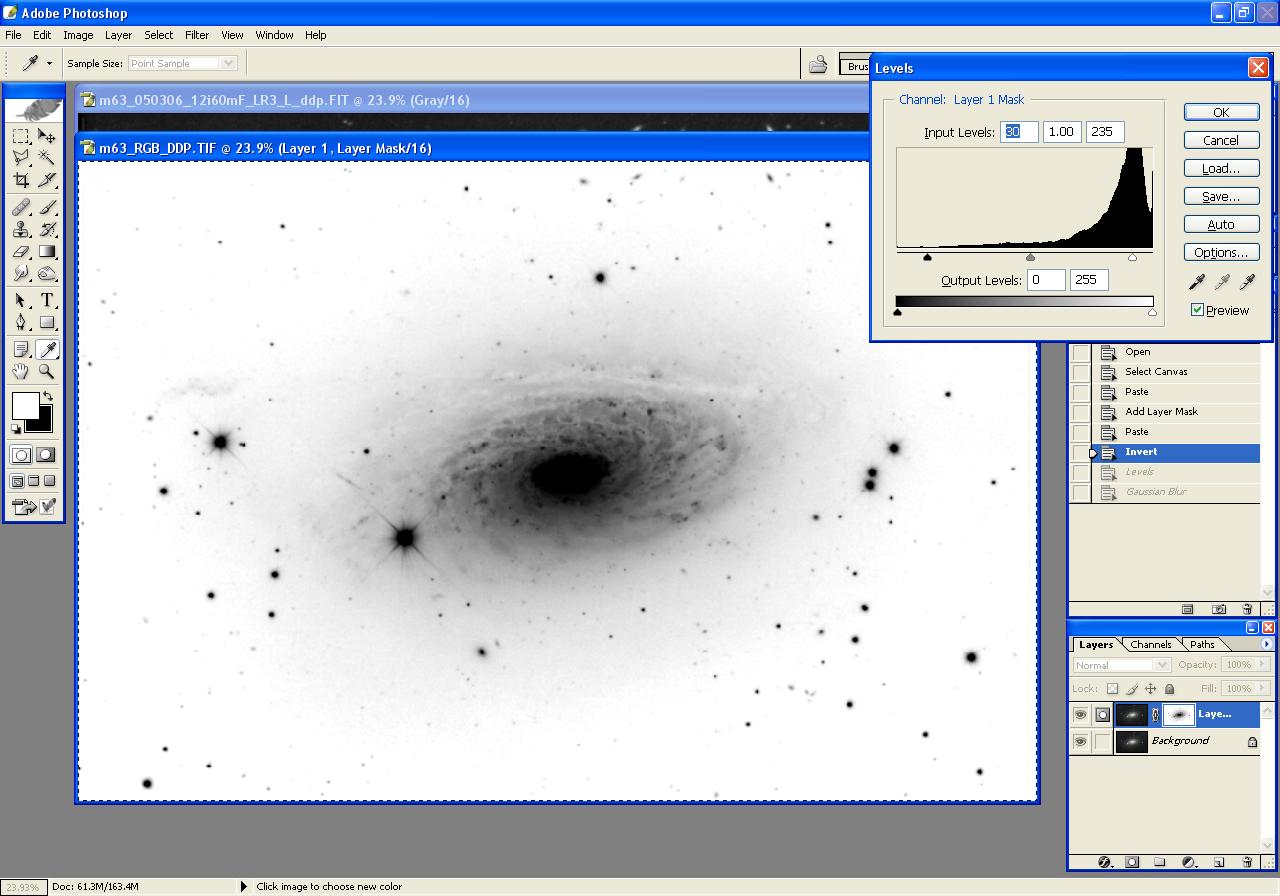
We want additional protection to the bright areas, so we'll now darken the darkest parts of the layer mask
with Levels.
Invoke the Levels dialog box:
- Menu selection Image | Adjustments | Levels or keyboard-shortcut Ctrl-L
Change the Input Levels in the Levels dialog box to 30, 1.0, 235.
The 30 darkens the darker areas, while the 235 lightens the lighter areas.
These parameters, of course, can be chosen to obtain the desired effect.
Note that we can afford to be more aggressive with blurring the color (only) data, so we
don't darken this layer mask as much as we did for the Luminance image.
|
|
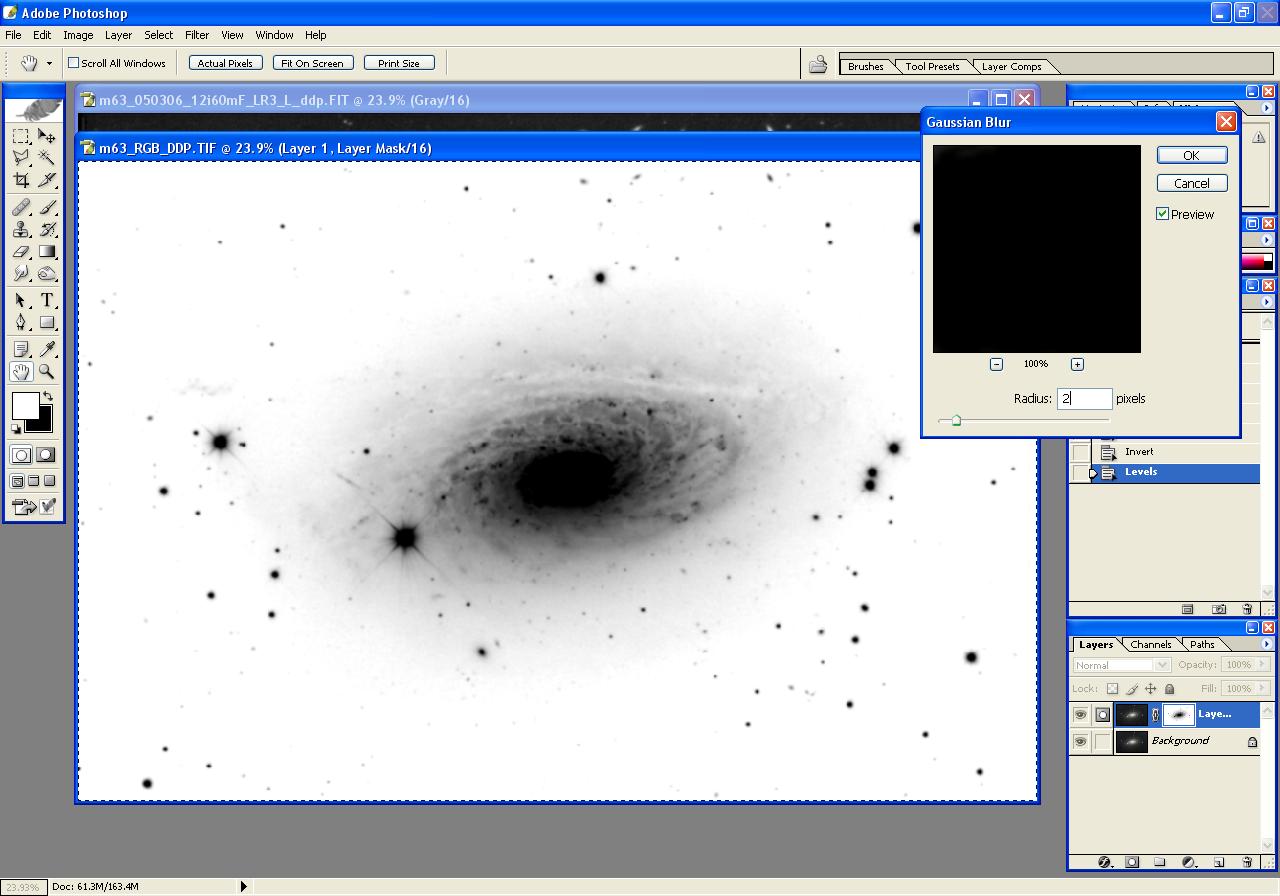
Since the Inverted Layer Mask itself is derived from our image, it contains the same
level of noise in the background areas. It's best if we slightly blur the Layer Mask
before proceeding.
Invoke the Gaussian Blur dialog box:
- Menu selection Filter | Blur | Gaussian Blur (no keyboard-shortcut)
Use a blur radius of about 1 or 2 (2 was used here).
|
|
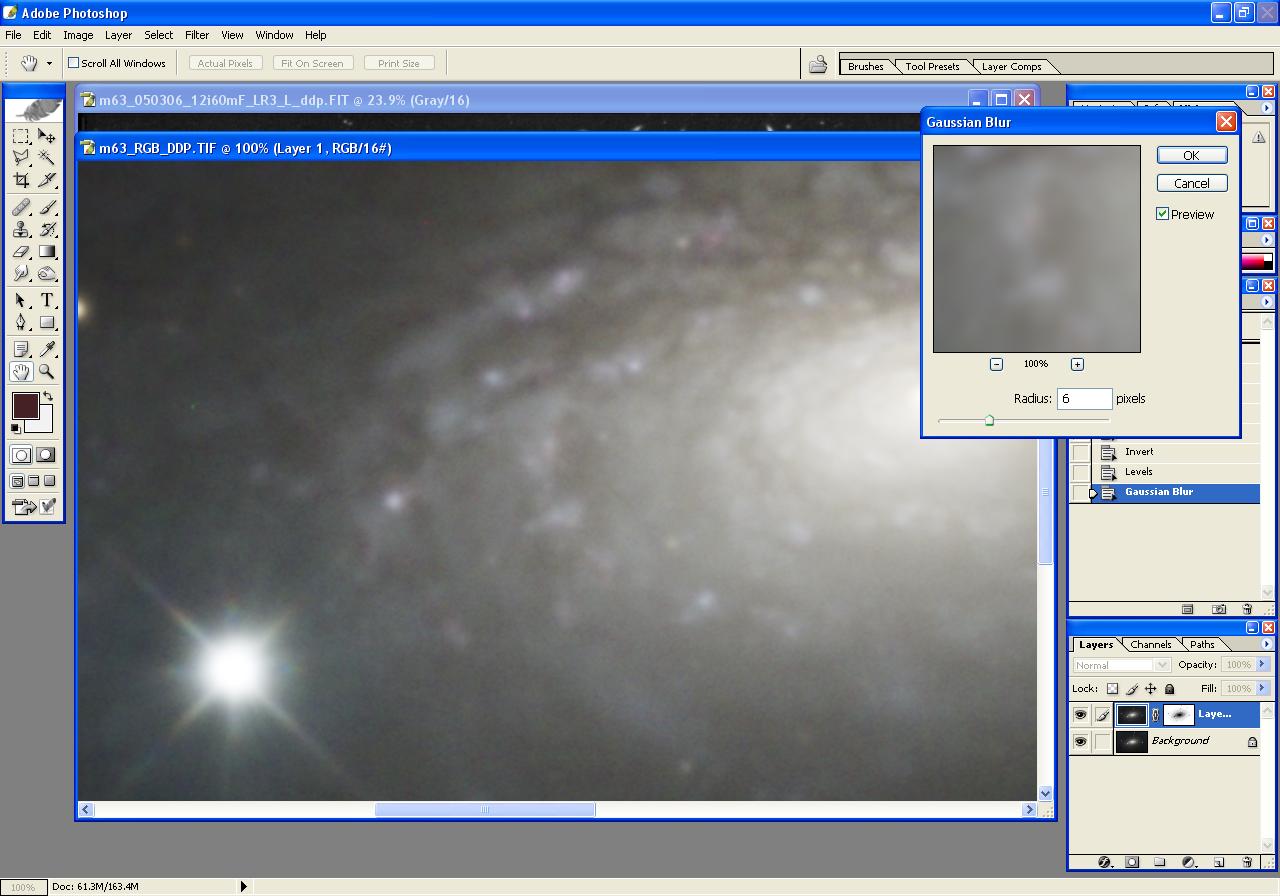
Now, make the top layer image active by clicking on its icon (circled in red at the bottom right
in the image). Magnify it enough to clearly see the noise in the background area so that you can
monitor the effect of the following blur command. (To magnify, press Ctrl-0, then press
Ctrl-+ several times.)
Invoke the Gaussian Blur dialog box:
- Menu selection Filter | Blur | Gaussian Blur (no keyboard-shortcut)
Use a blur radius of 6.
To monitor and evaluate the effect of the Blur command, while the Gaussian Blur dialog box
is still open, repeatedly click on the Preview checkbox to see the effect the blur is
having. The background noise should be substantially reduced. Again, we can afford to be more
aggressive blurring the color data as the fine detail will come from the Luminance
layer. Just be careful not to blur so much that you lose color in the small stars.
|
|
Flatten the layers to make the masked blur permanent:
- Menu selection Layer | Flatten Image (no keyboard-shortcut available)
Maximize the size of the image Window (remove prior magnification):
- Menu selection View | Fit on Screen or keyboard-shortcut Ctrl-0
|
|
|
Step 6: Merge Luminance image into RGB image
|
Click on the Luminance image so make it active. Copy its contents
- Menu selection Select | All or keyboard-shortcut Ctrl-A
- Menu selection Edit | Copy or keyboard-shortcut Ctrl-C
Click on the RGB image to make it active. Paste the Luminance Image onto it.
- Menu selection Edit | Paste or keyboard-shortcut Ctrl-V
Set the Blend Mode to Luminosity
|
|
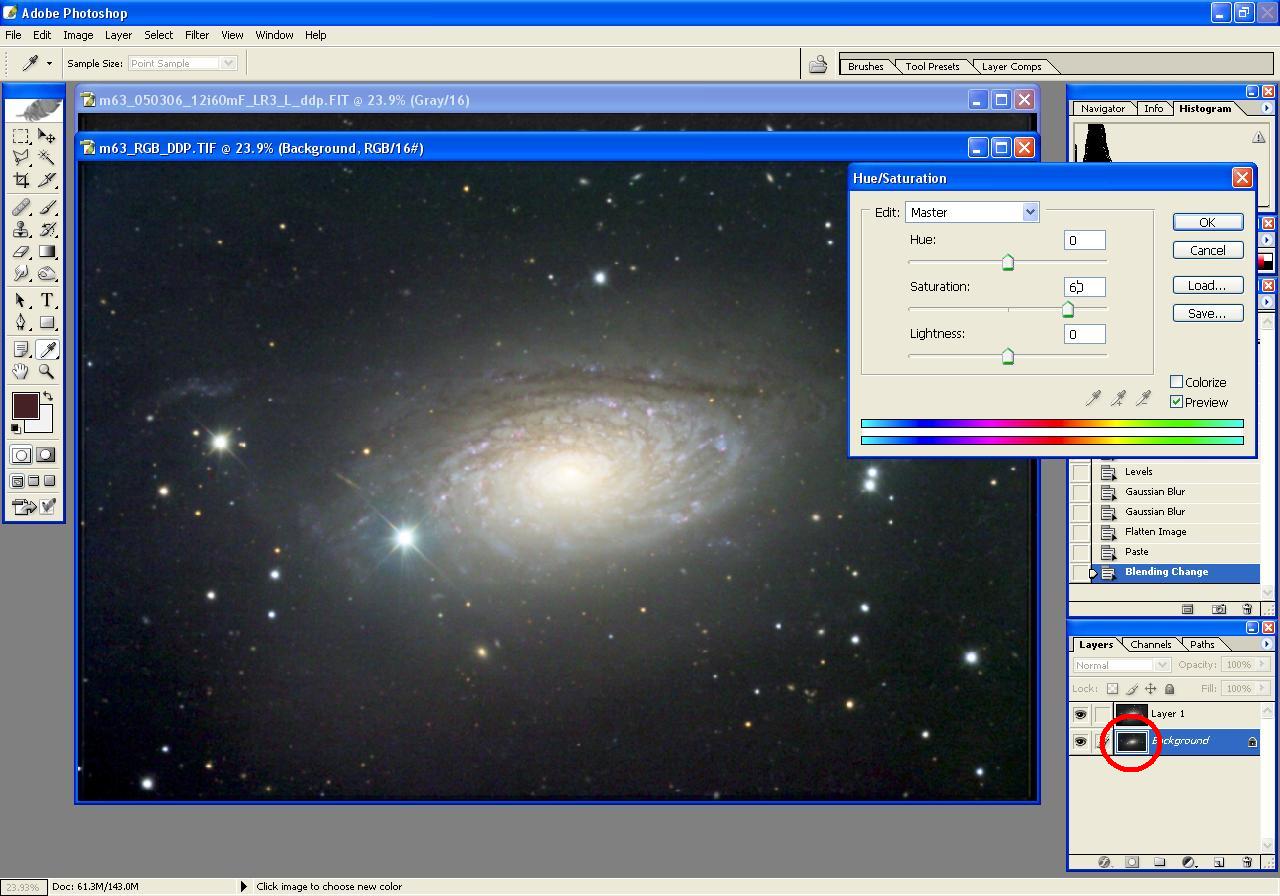
The color is looking much too washed out, so we'll add a little Color Saturation at
this point. More adjustments may be needed later after we get the brightness and contrast
where we want them.
Click on the Background layer icon (circled in Red at the bottom right of the image).
Adjust the Color Saturation level of the color layer:
- Menu selection Image | Adjustments | Hue/Saturation or keyboard-shortcut Ctrl-U
- Enter 60 into the Saturation box.
- Click OK
|

|
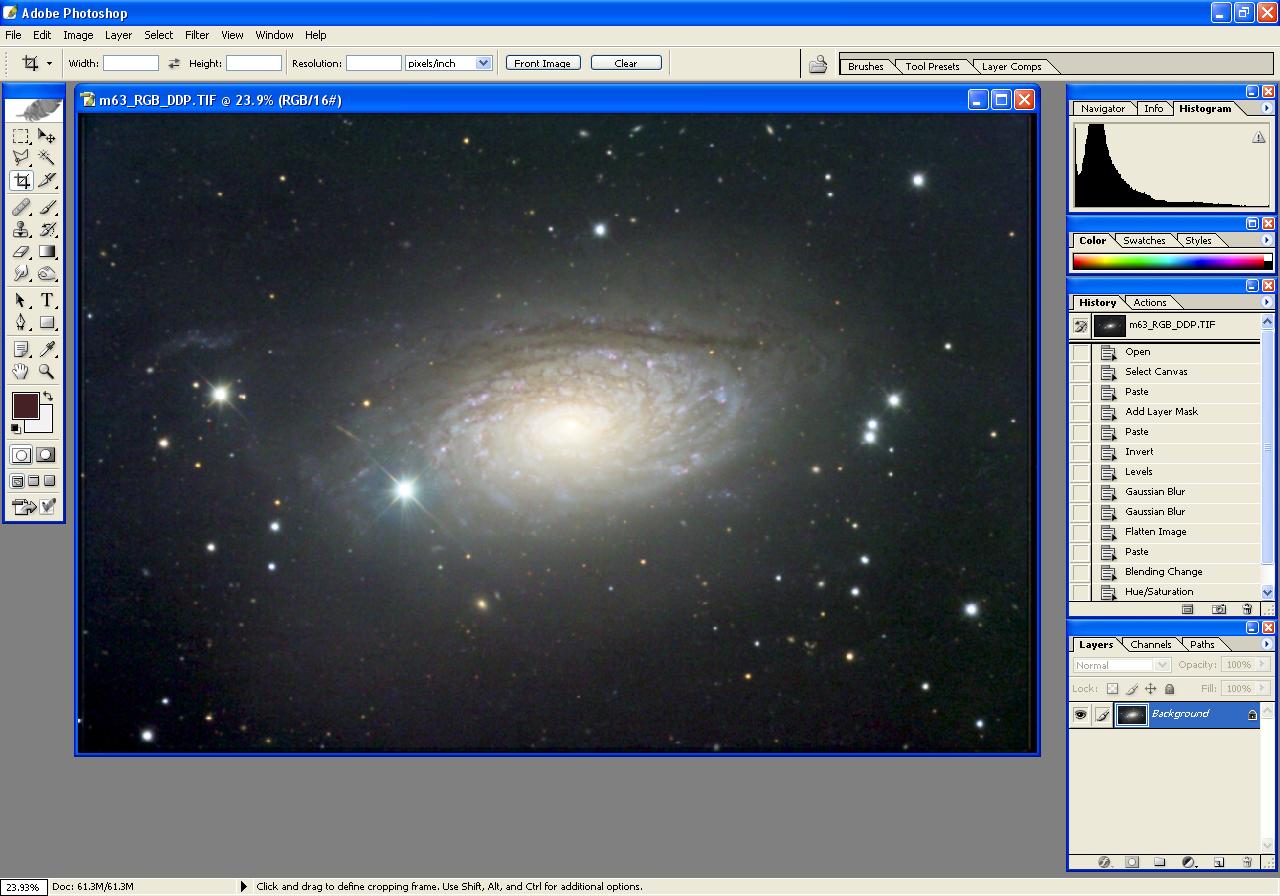
Flatten the layers to make the merger permanent:
- Menu selection Layer | Flatten Image (no keyboard-shortcut available)
Click on the Luminance frame and close it, as we won't need it again during this
processing run.
|
|
|
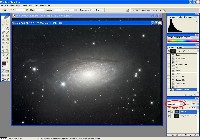
Step 7: Final Adjustments/Tweaking Image
|
While some of what precedes this step depends on personal preferences of the imager,
all of what follows gets very personal and subjective. At each step of the way, the
imager decides what adjustments will move the image toward his/her final vision.
|
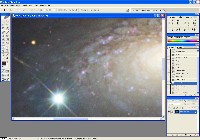
Apply mild Unsharp Mask:
- Menu selection Filter | Sharpen | Unsharp Mask (no keyboard-shortcut)
- Amount - 50%
- Radius - 2.0 Pixels
- Threshhold - 0 Levels
These entries will provide a very small boost in sharpness without invoking too
large a penalty in artifacts. The main artifact to be concerned about is dark
rings around stars that overlay nebulosity. Another artifact that can occur
with too-aggressive Unsharp Masking is hard-edged stars, rather than more natural
looking soft-edged stars. Yet another downside of any sharpening that affects
fine details is that it can sharpen noise as well, and make it more apparent.
|
|
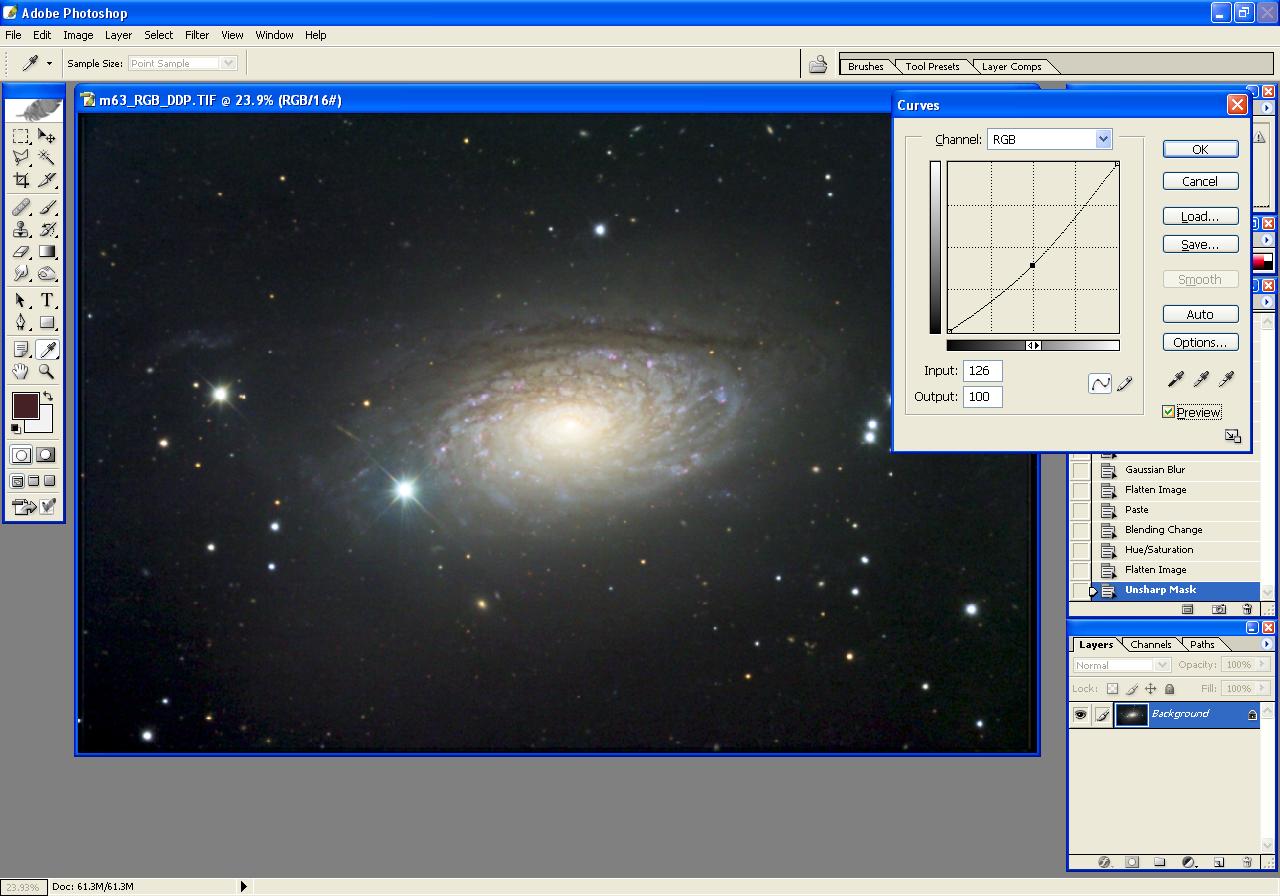
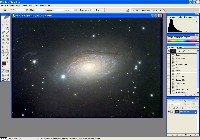
The image appears too bright for my tastes here.
Apply Curves to increase contrast/darken dimmer areas:
- Menu selection Image | Adjustments | Curves (no keyboard-shortcut)
- Set one point and enter 126 for the Input and 100 for the Output.
This point will darken the entire image.
|

|
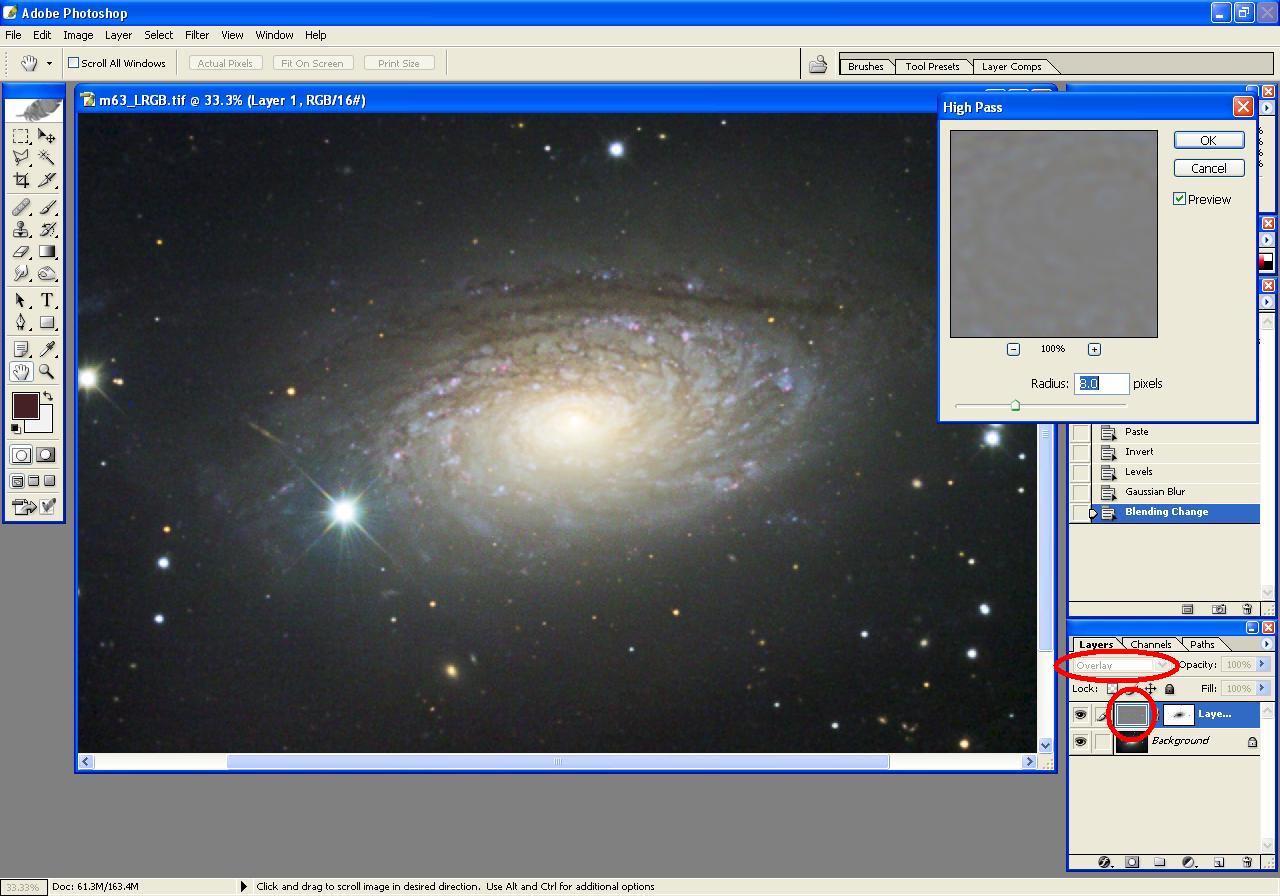
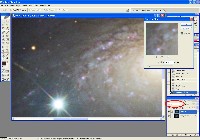
There appears to be some lovely detail in the dark lanes in the galaxy, so we'll do a High Pass Filter
to add a bit of emphasis.
This filter can be a bit harsh, so we need to do something to temper its effect. In this case, we want
it to apply mostly to the darker areas, and not to the bright areas where it will tend to emphasize any
color noise.
First, create an Inverted Layer Mask for the image.
|
|
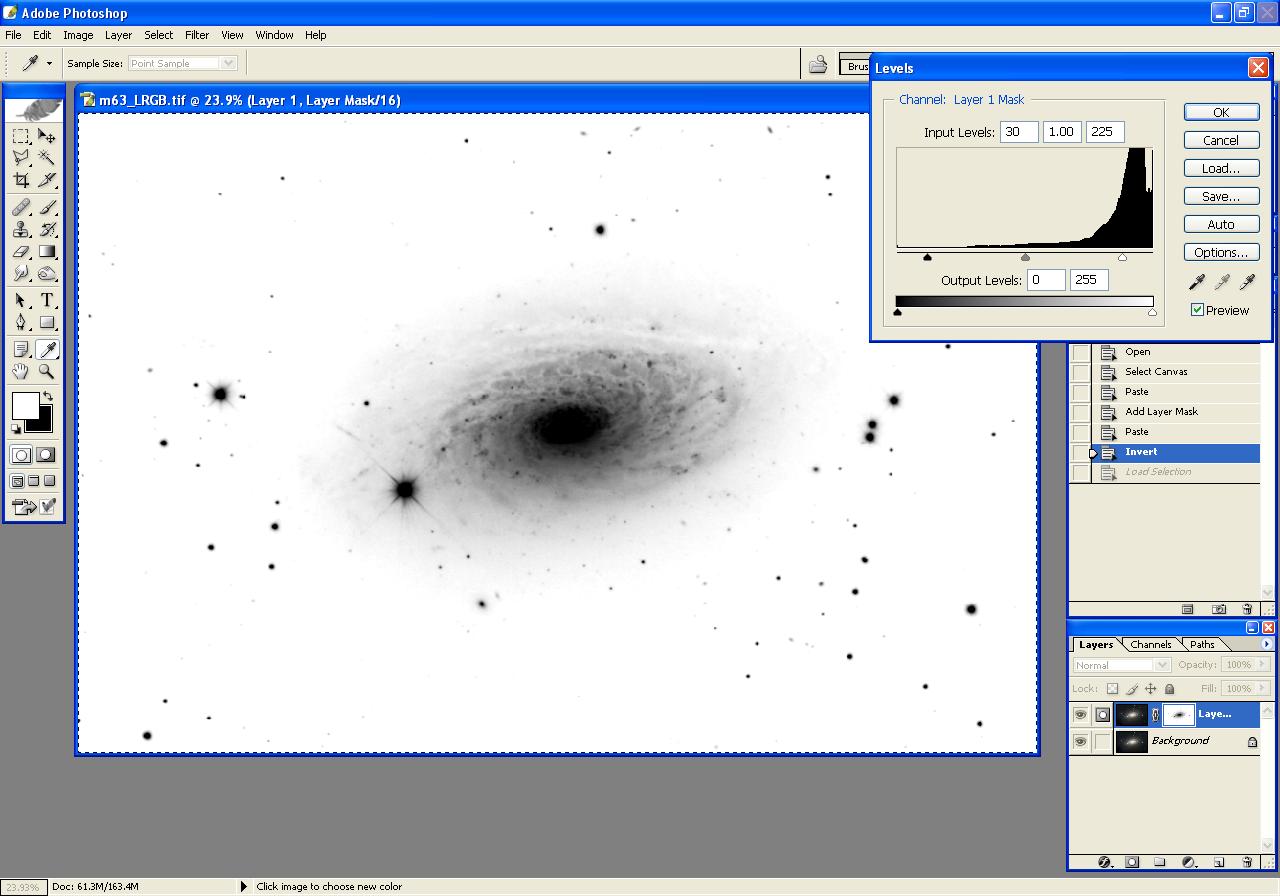
We want to primarily affect the darker areas, so we'll add a Levels adjustment here that will brighten the
layer mask where the image is dark, and darken the layer mask where the image is bright.
Invoke the Levels dialog box:
- Menu selection Image | Adjustments | Levels or keyboard-shortcut Ctrl-L
Change the Input Levels in the Levels dialog box to 30, 1.0, 225.
The 30 darkens the darker areas, while the 225 lightens the lighter areas.
These parameters, of course, can be chosen to obtain the desired effect.
|

|
Since the Inverted Layer Mask itself is derived from our image, it contains the same
level of noise in the background areas. It's best if we slightly blur the Layer Mask
before proceeding.
Invoke the Gaussian Blur dialog box:
- Menu selection Filter | Blur | Gaussian Blur (no keyboard-shortcut)
Use a blur radius of about 1 or 2 (2 was used here).
|
|
Now, make the top layer image active by clicking on its icon (circled in red at the bottom right
in the image). Magnify it just a little to be able to clearly see the galaxy details so that you can
monitor the effect of the following commands. (To magnify, press Ctrl-0, then press
Ctrl-+ several times.)
Change the Blend Mode to Overlay (See red oval at lower right in the image).
Invoke the High Pass Filter:
- Menu selection Filter | Other | High Pass (no keyboard-shortcut)
Use a pixel Radius of 8.
|
|
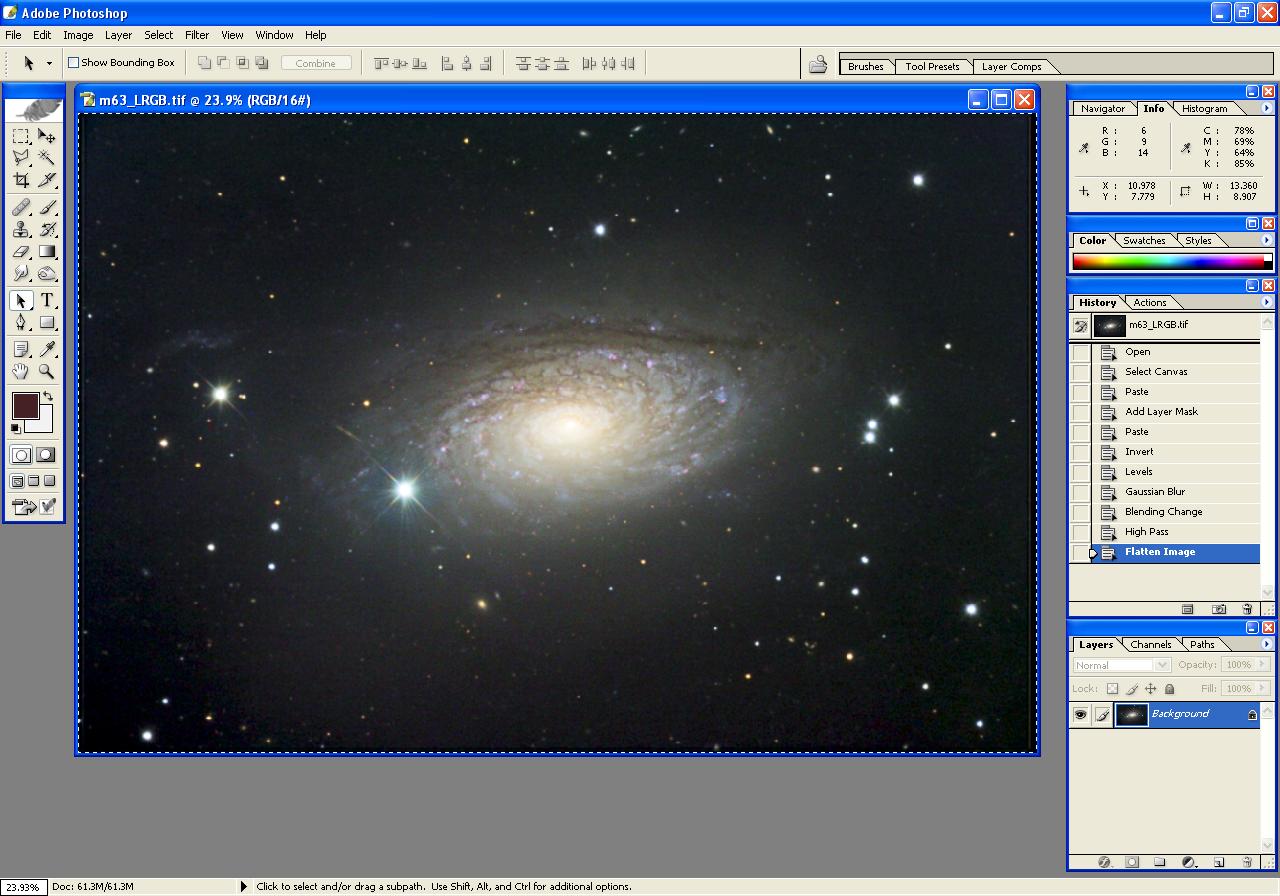
Flatten the layers to make the High Pass Filter permanent:
- Menu selection Layer | Flatten Image (no keyboard-shortcut available)
Maximize the size of the image Window (remove prior magnification):
- Menu selection View | Fit on Screen or keyboard-shortcut Ctrl-0
While there is a nice improvement in the dark-lane detail, we did pick up a bit of
objectionable color noise, which we'll deal with below.
|
|
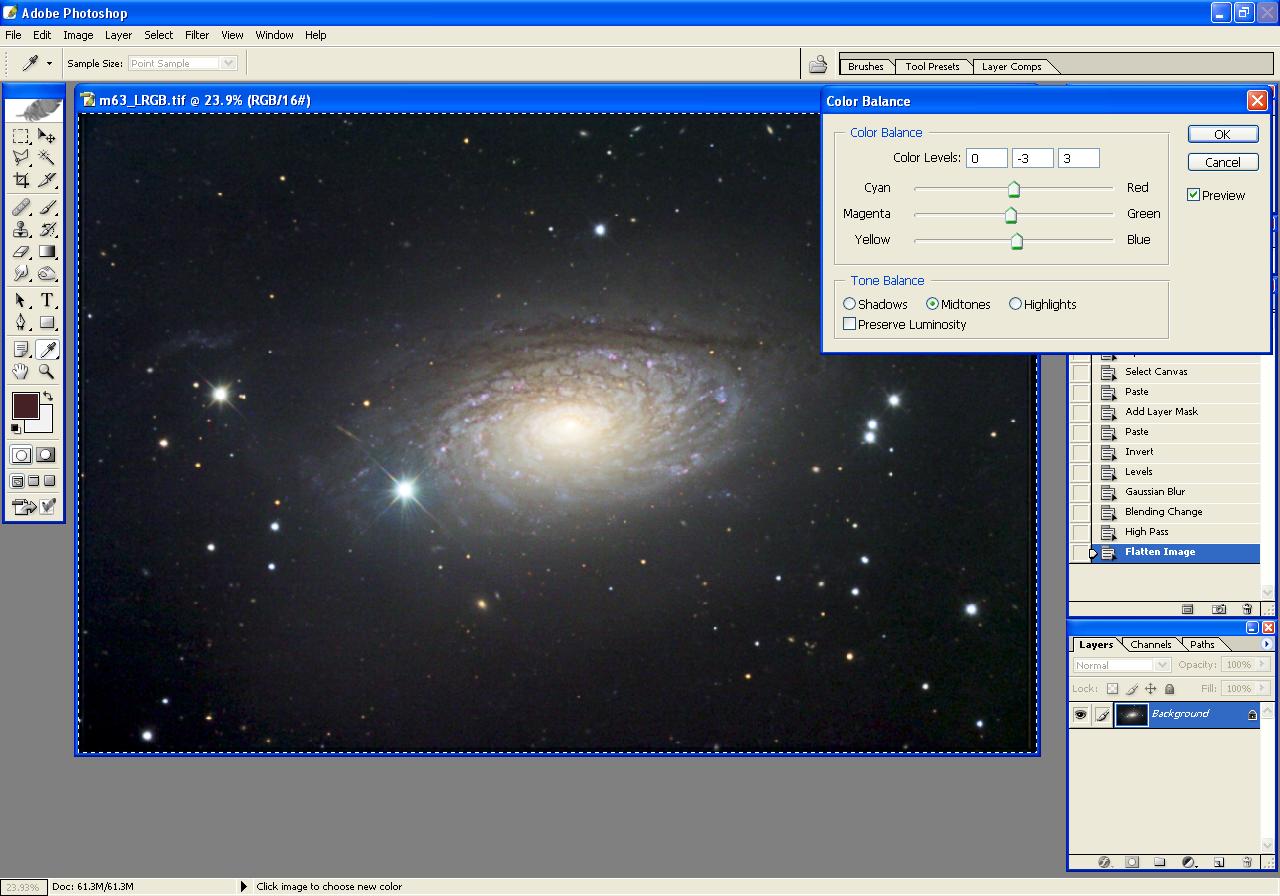
The image appears to have just a bit of a green cast, especially in the outer halo of the galaxy.
If there were a huge imbalance, we might have to go back to Step 3 and redo the Color Combine,
but for a minor tweak like this, a Color Balance adjustment is fine.
Apply a Color Balance Adjustment:
- Menu selection Image | Adjustments | Color Balance or keyboard-shortcut Ctrl-B
- Enter -3 in the Green and Blue Color Levels. This gives the galaxy's outer halo a
more neutral color.
|
|
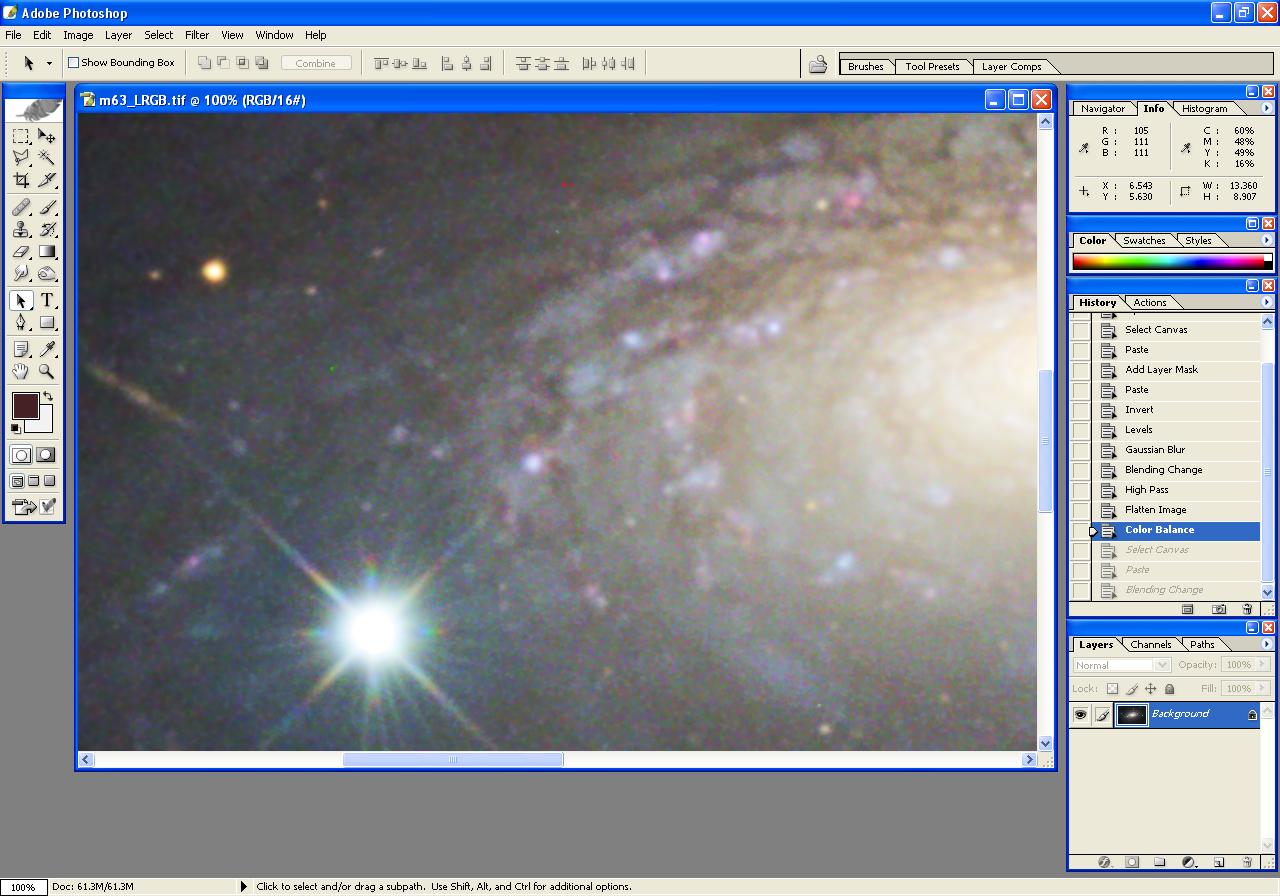
If we take a closeup look at the image, we see that it has gained some objectionable color noise.
We can suppress this somewhat by doing a mild blur of just the color information.
|
|
We start by making a new layer with a copy of the image.
Click on the image to make it active. Copy its contents:
- Menu selection Select | All or keyboard-shortcut Ctrl-A
- Menu selection Edit | Copy or keyboard-shortcut Ctrl-C
Paste the image onto itself:
- Menu selection Edit | Paste or keyboard-shortcut Ctrl-V
While the image looks the same, note that a new layer has been created (bottom right
on the screen).
Change the Blend Mode to Color.
Invoke the Gaussian Blur dialog box:
- Menu selection Filter | Blur | Gaussian Blur (no keyboard-shortcut)
Use a blur radius of about 2. This removes some of the fine color noise without
too harshly affecting the overall color intensity and detail.
Flatten the layers to make the color blur permanent:
- Menu selection Layer | Flatten Image (no keyboard-shortcut available)
|
|
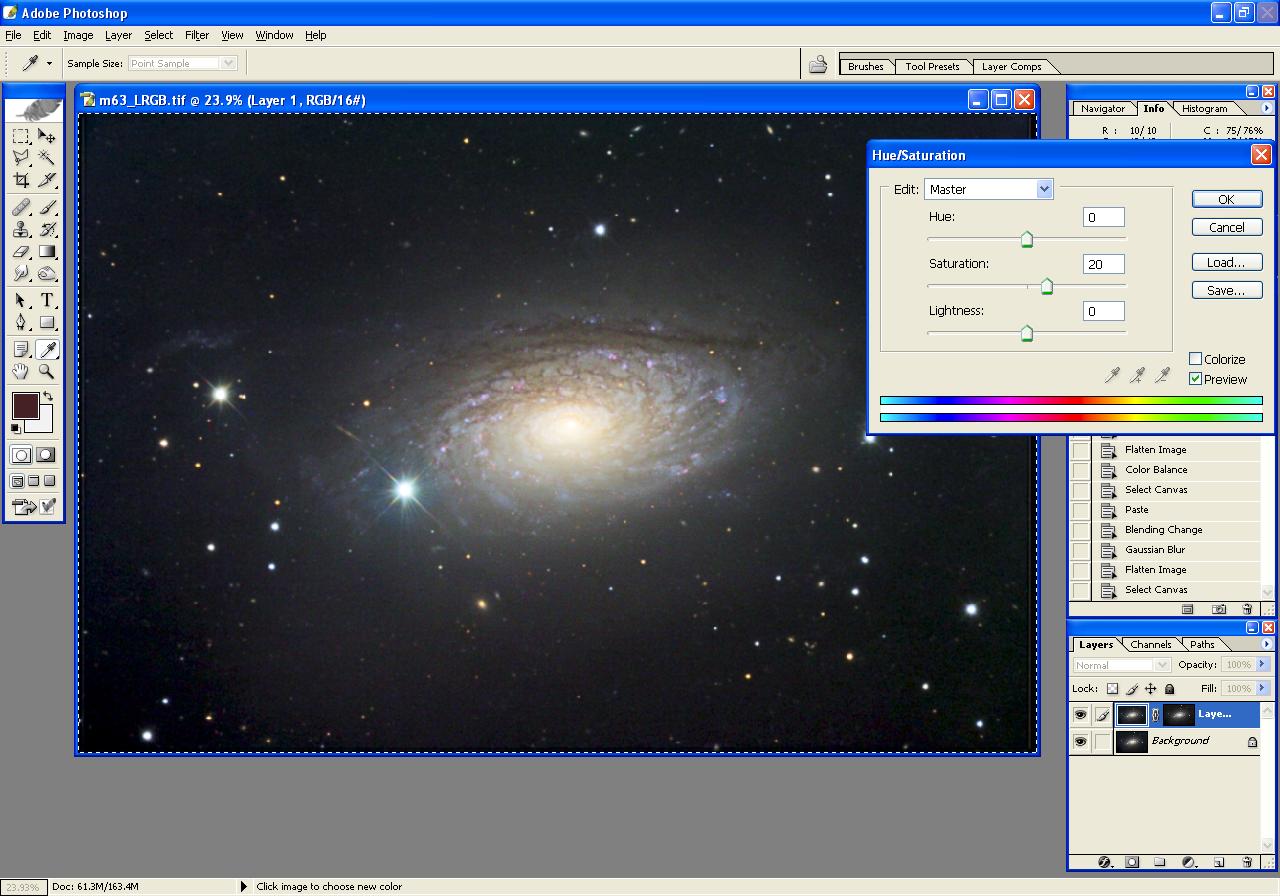
At this point, I think the image could stand just a bit more Color Saturation. We want to be careful, however,
not to again boost the color noise. One technique is to do the color saturation increase on a layer protected
by a Positive Layer Mask.
First, create a Positive Layer Mask for the image.
|

|
Now, make the top layer image active by clicking on its icon (circled in red at the bottom right
in the image).
Invoke the Hue/Saturation dialog box:
- Menu selection Image | Adjustments | Hue/Saturation (no keyboard-shortcut)
Set the Saturation to 20.
Notice that the central area of the galaxy gets a mild saturation boost, while the galaxy
halo and background don't change.
Flatten the layers to make the Color Saturation boost permanent:
- Menu selection Layer | Flatten Image (no keyboard-shortcut available)
|
|
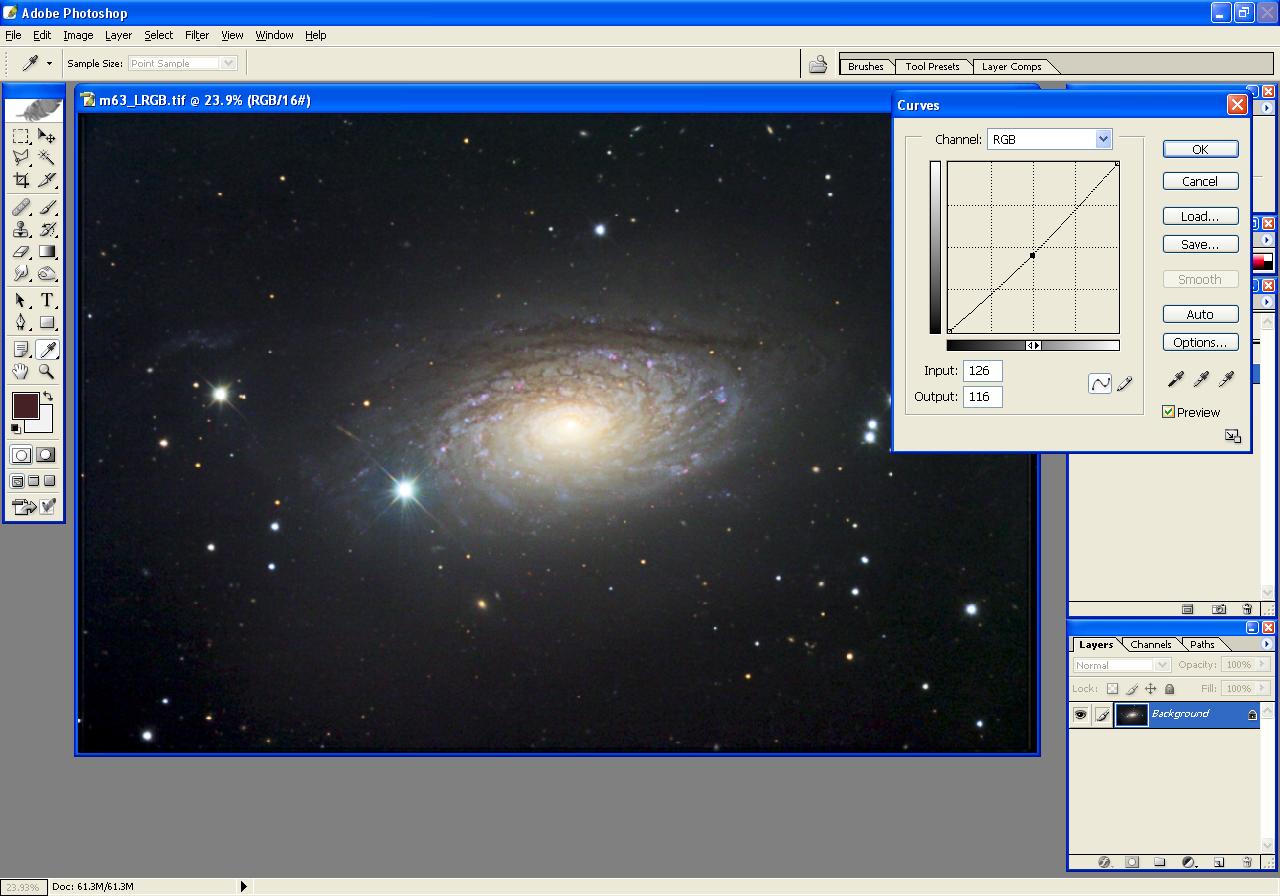
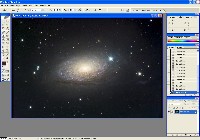
The image appears just about right to me, but I'd prefer to remove just a tiny bit of brightness.
Apply Curves to slightly darken the image:
- Menu selection Image | Adjustments | Curves (no keyboard-shortcut)
- Set a point and enter 126 for the Input and 116 for the Output.
This point will darken the entire image.
|
|
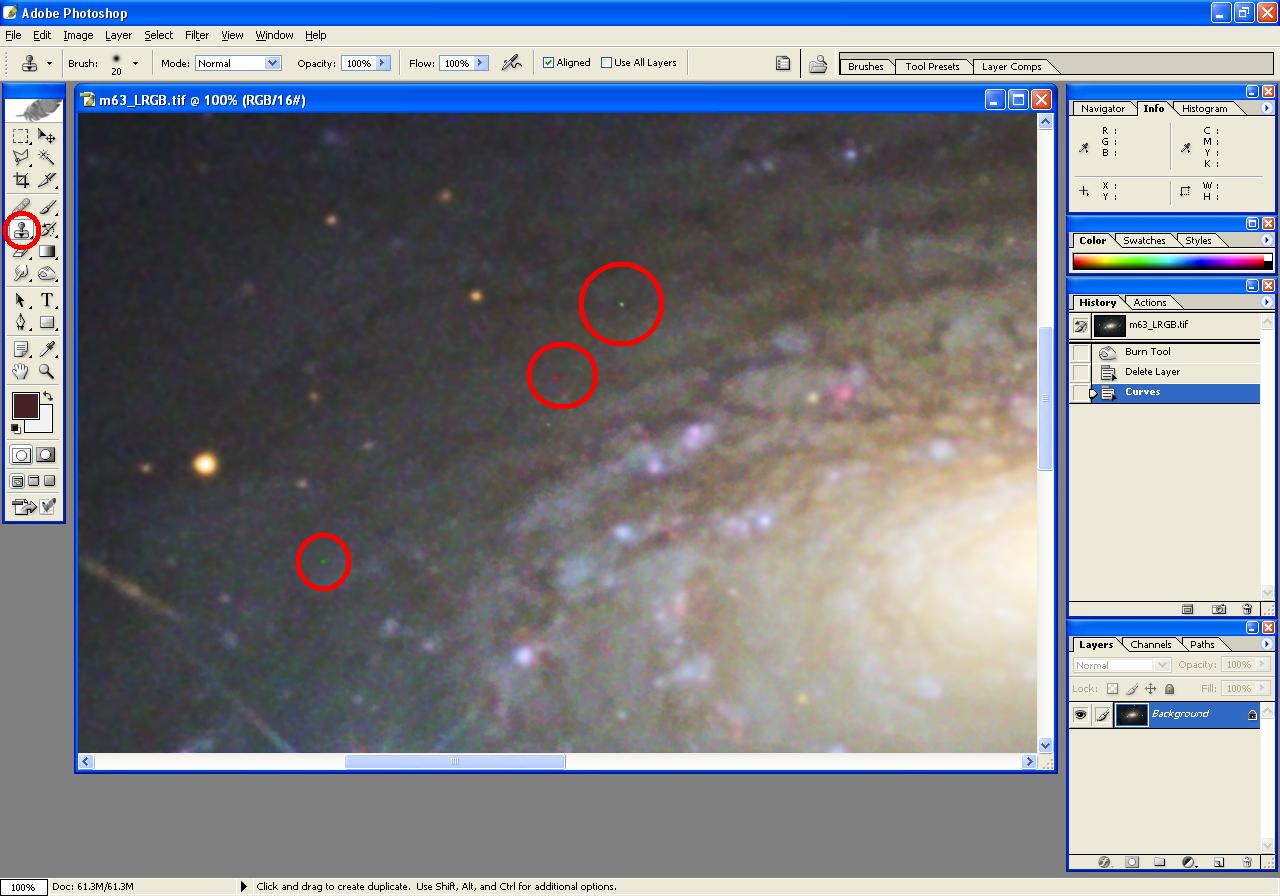
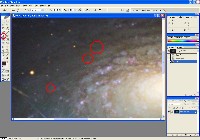
At some point before finalizing the image, it's a good idea to magnify it and look for tiny defects that can
be fixed with the Clone Stamp. (See red-circled icon on toolbar on left side of image).
Clone Stamp Image Defects:
- Select Clone Stamp Tool
- Set a suitable Brush size - large enough to cover the defects, but small enough so as not to
cover too much image at a time.
- Alt-Click near a defect
- Click over top the defect to copy the tiny part of the image from one location over the defect.
|
|
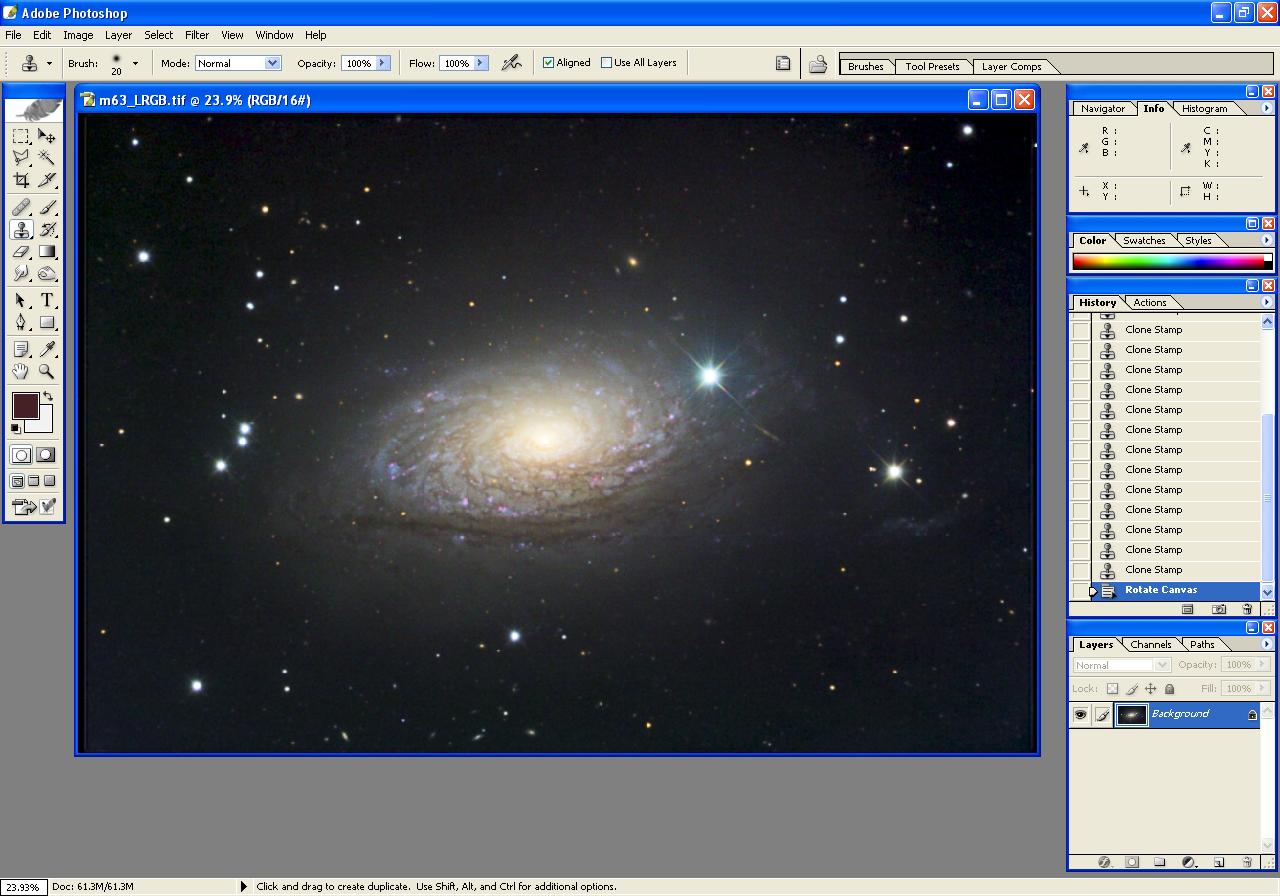
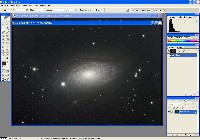
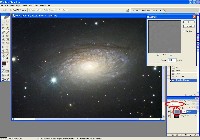
This adjustment could be done at any time, but the raw data files have North at the bottom,
rather than the more conventional North at the top.
Rotate image 180 degrees.
- Menu selection Image | Rotate Canvas | 180 degrees (no keyboard-shortcut)
|
|
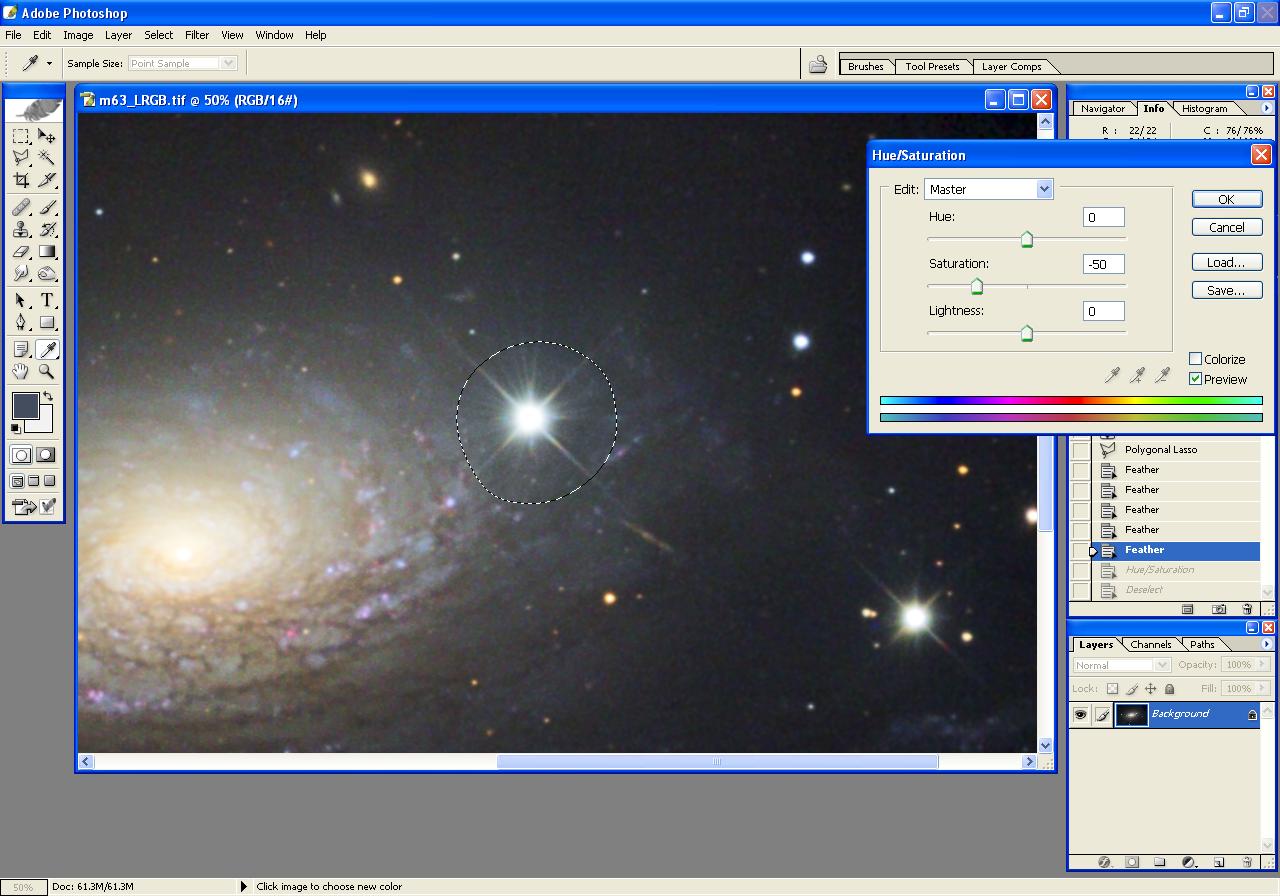
One last tweak - the bright star has a bit of a blue halo surrounding it, and it looks out of place.
Since the halo is in a region of the image with a relatively neutral color background, we can
suppress it by selecting the halo area and reducing the color saturation.
Using the Polygonal Lasso Tool (circled in red at left in image), encircle the blue star halo
with a series of straight lines, being sure to "close the loop" at the end of the circle.
Feather the selection by 15 pixels
- Menu selection Select | Feather and enter a Feather Radius of 15 pixels.
|
|
Adjust the Color Saturation level of the selection:
- Menu selection Image | Adjustments | Hue/Saturation or keyboard-shortcut Ctrl-U
- Enter -50 into the Saturation box.
- Click OK
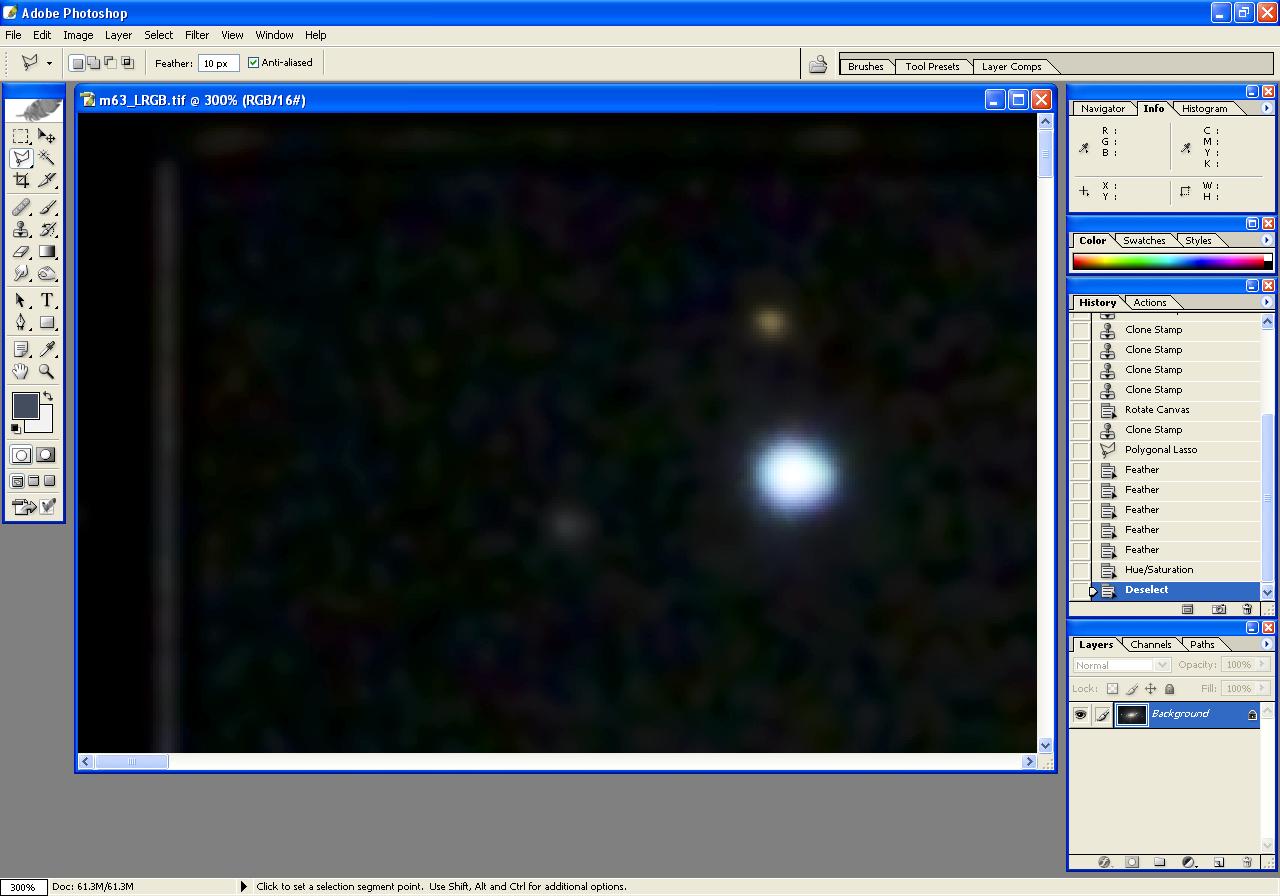
Remove the Selection:
- Menu selection Select | Deselect or keyboard-shortcut Ctrl-D
|
|
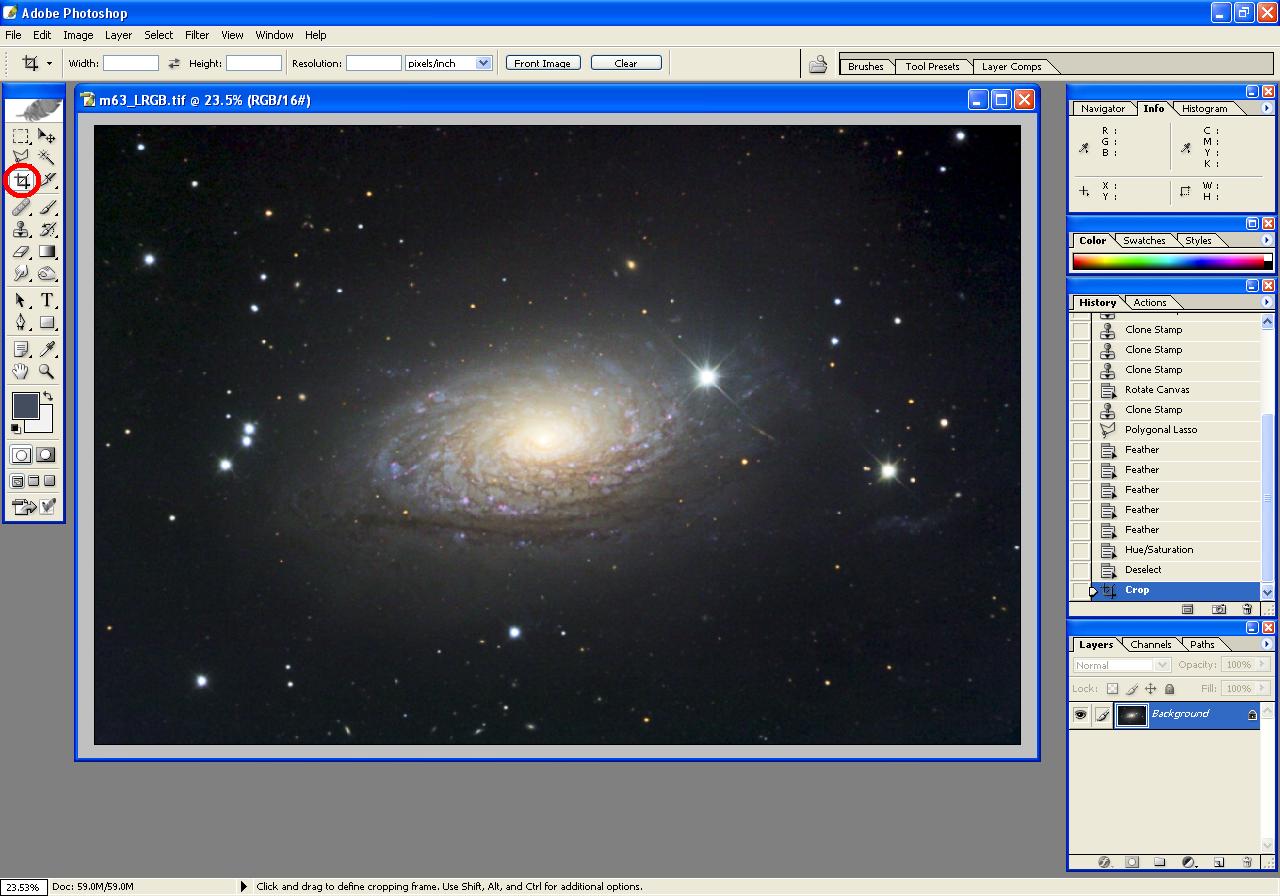
The image has some lines and border issues due to the CCDSharp Deconvolution routine
and the dithered guiding (used to help remove CCD chip column noise).
|
|
Select the Crop tool from the toolbar (circled in red on the left side of the image).
Outline the area that is within the border areas and press the Enter key.
|
|
|
Step 8: Save the Results
|
Save a TIFF version of the image:
- Menu selection File | Save As (no keyboard-shortcut)
- Supply a name for the file (should be different from the RGB file in case you
want to start over at some point).
- Select None for Image Compression to maintain the highest quality
of the finished image.
|
|
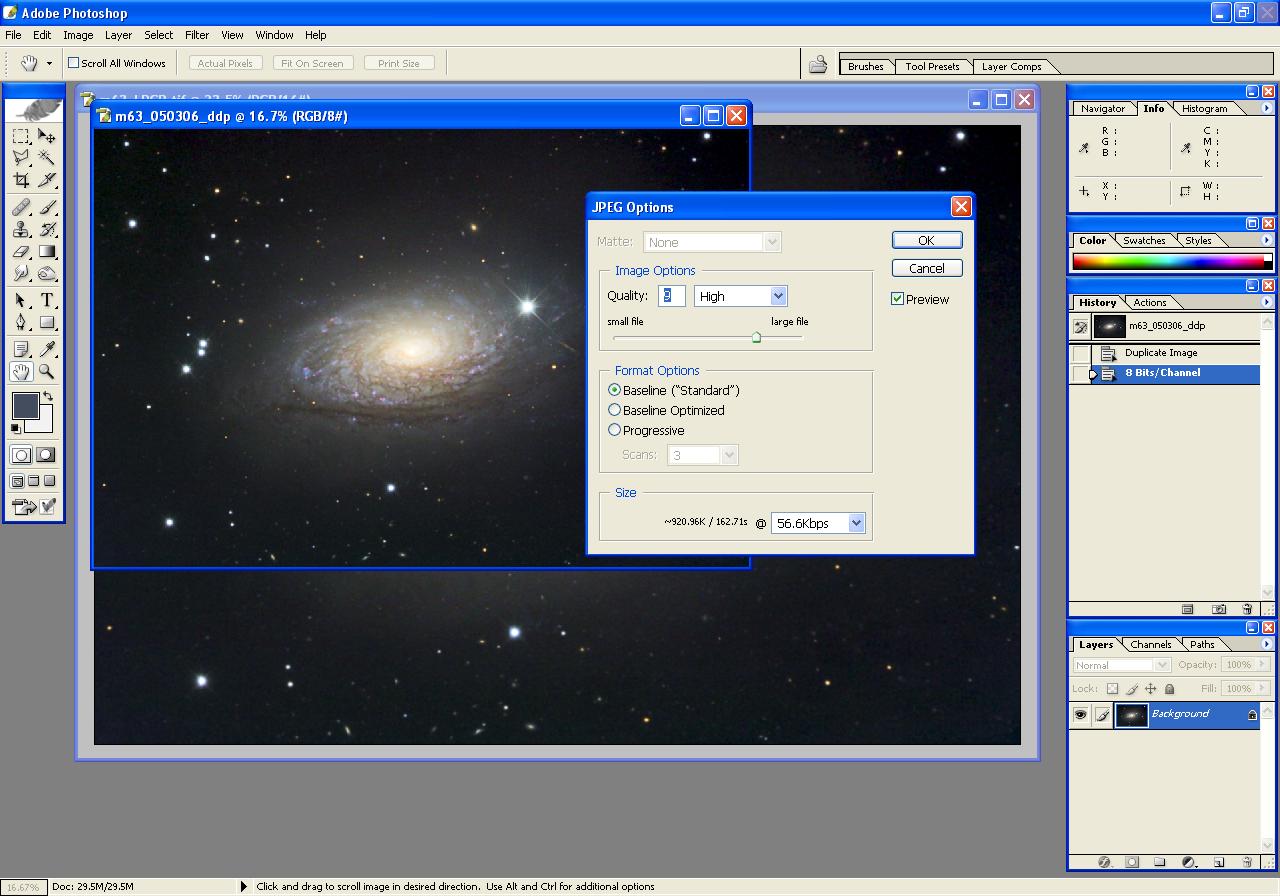
If you want to share the image on the web or via email, save a JPEG version of the image:
- Menu selection Image | Duplicate (no keyboard-shortcut)
- Menu selection Image | Mode | 8-Bits/Channel (no keyboard-shortcut)
- Menu selection File | Save As (no keyboard-shortcut)
- Supply a name for the file.
- Select a Quality of 9 to maintain a high quality in
the saved image.
|
|
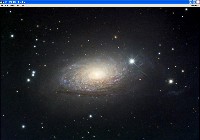
Enjoy the image, and start planning the next one...
|
|